Introduction: How it All Started
One day as I'm browsing through the internet I'm thinking: Turkish lamps are neat. This blossomed into "oh yeah I want to make a lamp scene for my SideTrip image series what if I made the scene with Turkish lamps." Sure... that's great. Within my SideTrip image series which has been rolling for about 5 years I've produced a scene with a huge load of lamps. I always wanted to make a continuation of that scene and was hoping to produce something with the latest tech and methodology I had in mind.
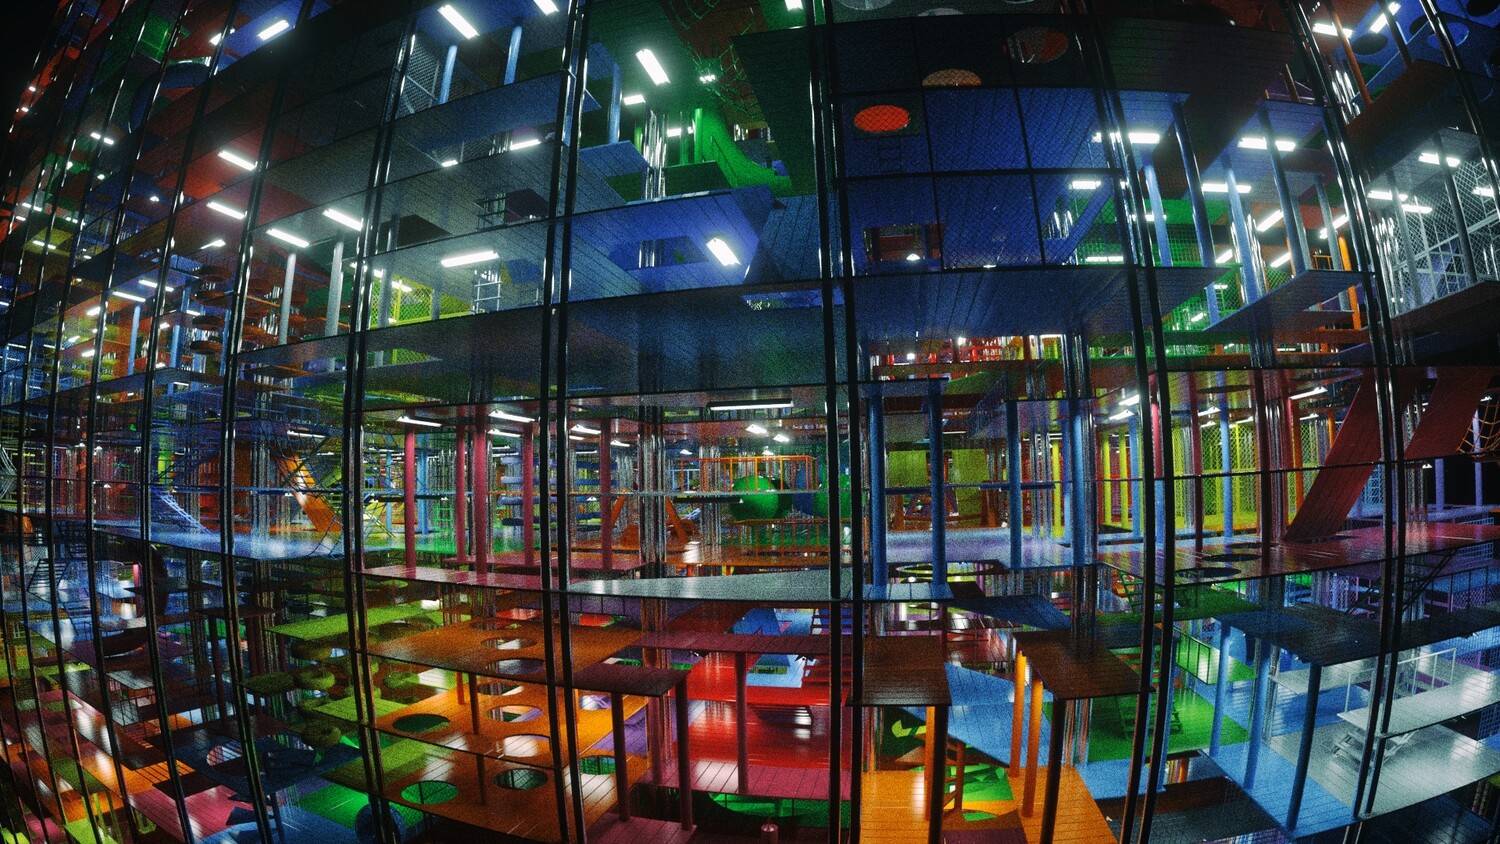
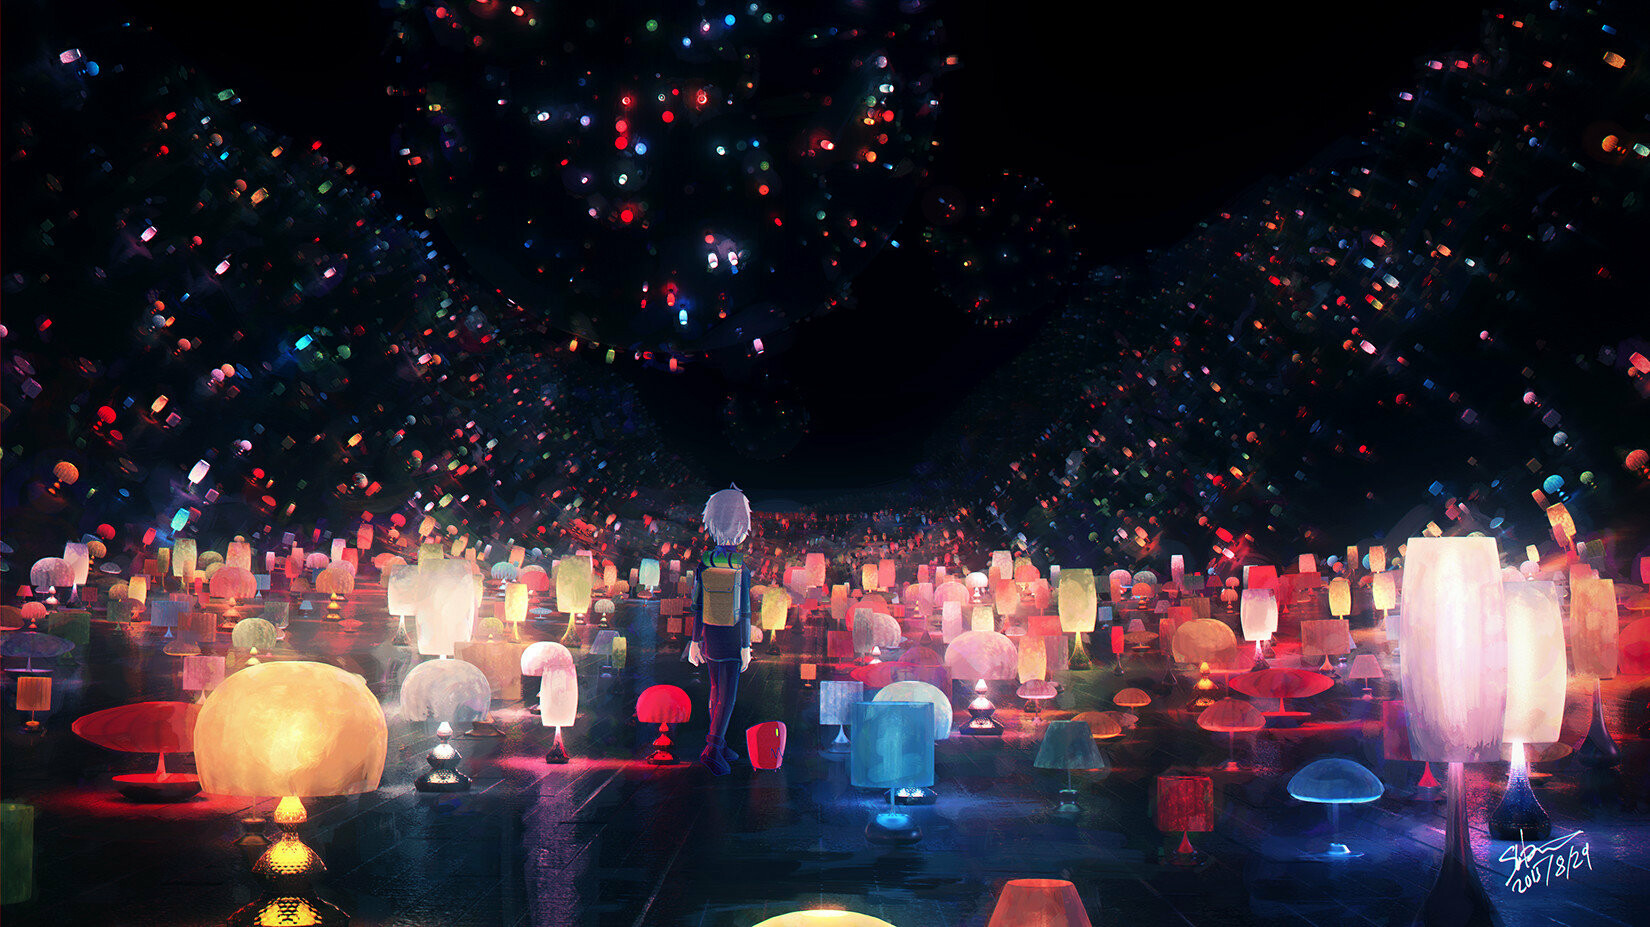
Firstly, just to get you guys started with the series, this is what the initial lamp scene I produced years ago looked like. This was the first ever image I posted in Artstation. (Lamp models were produced by Kevin Weber)
This was pretty neat back then, a bajillion lamps lighting up some scenery was tricky enough but it's amazing to note that Modo rendered all of this without a hiccup. But that's not what I want to talk about.
The Plan
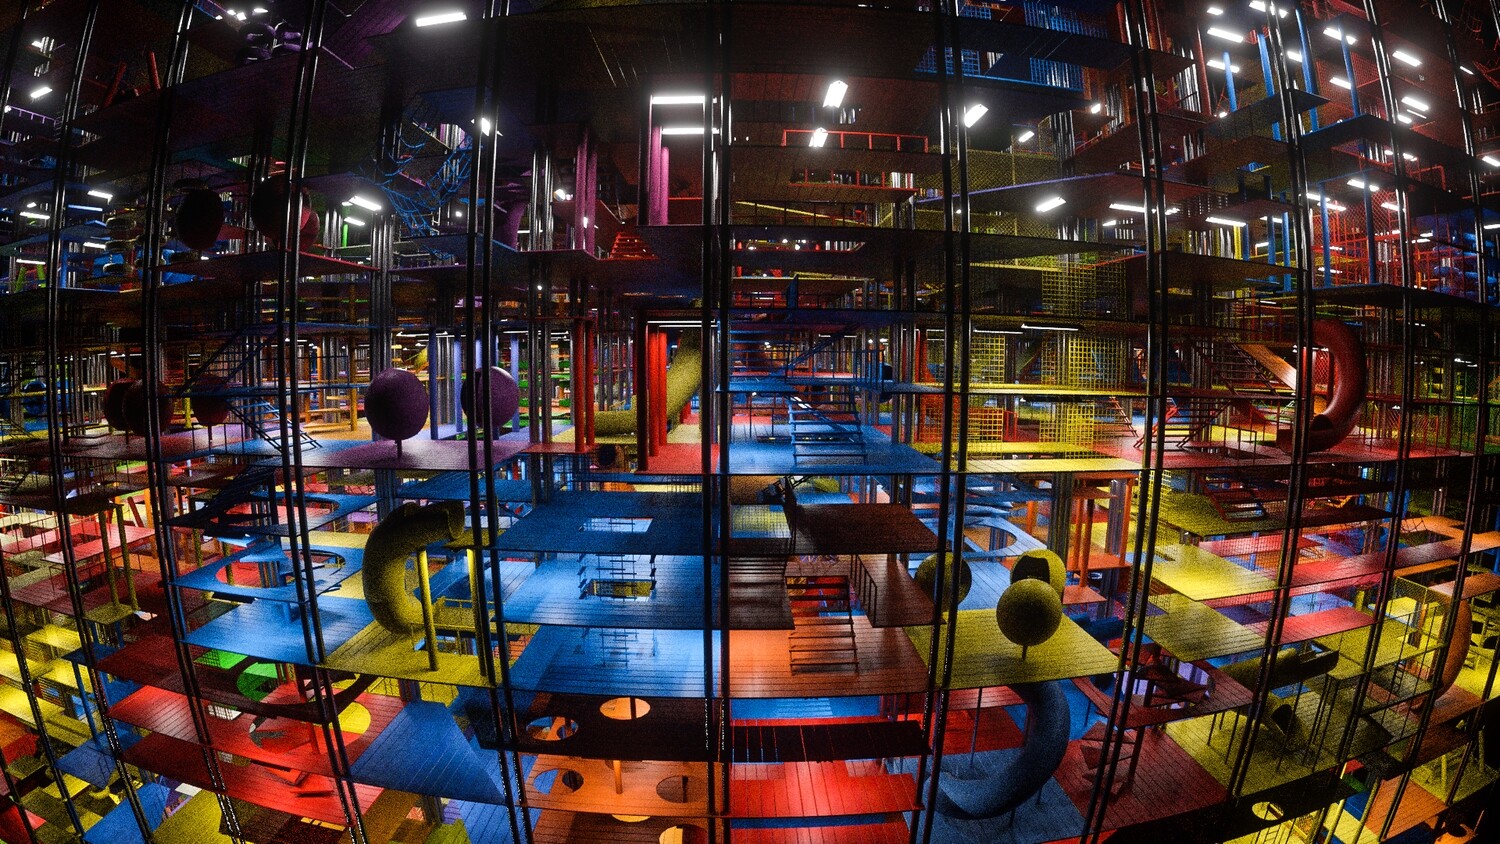
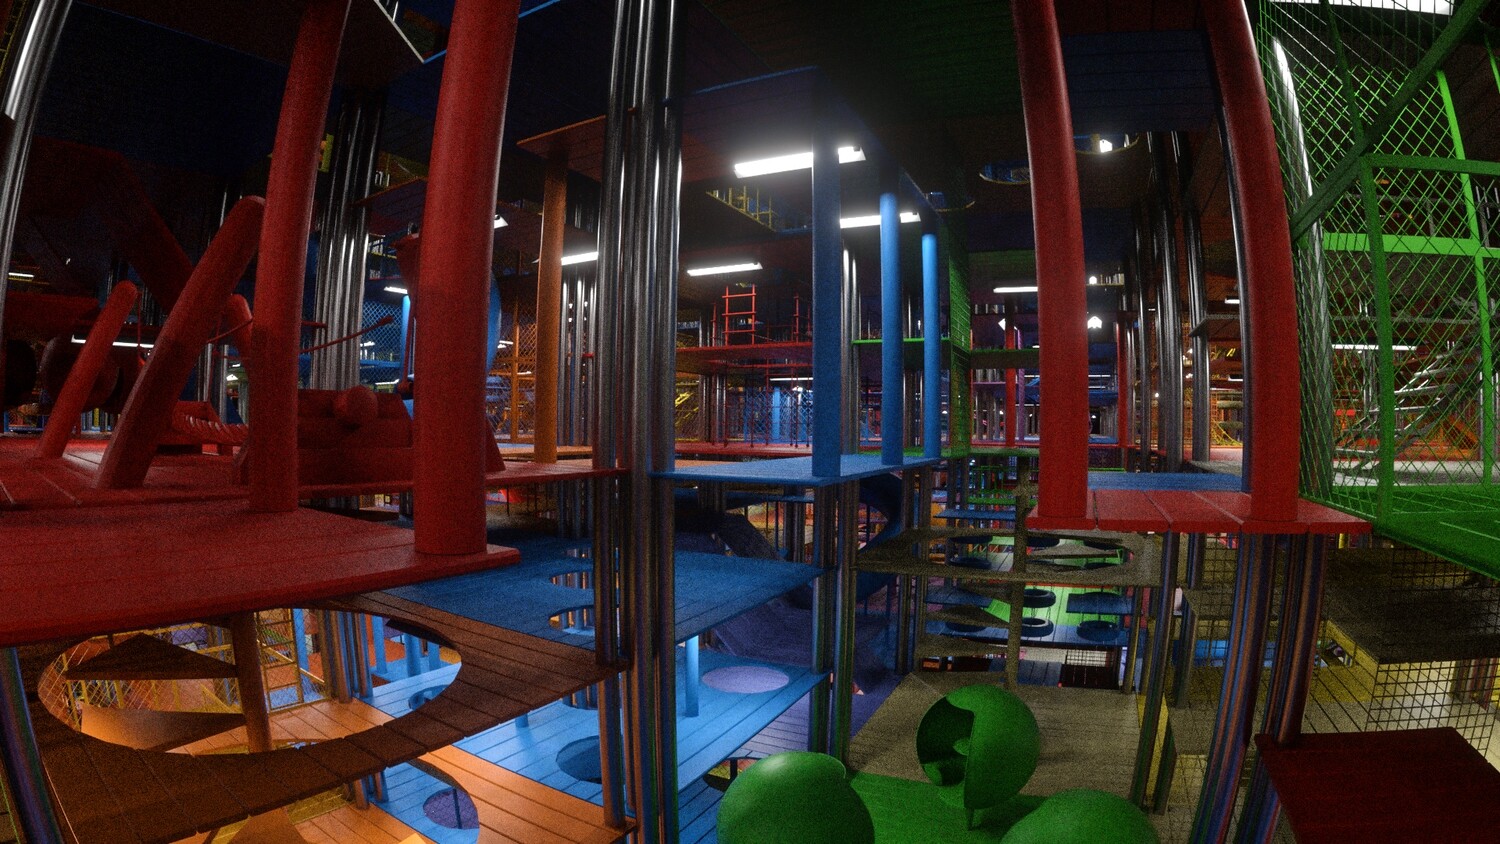
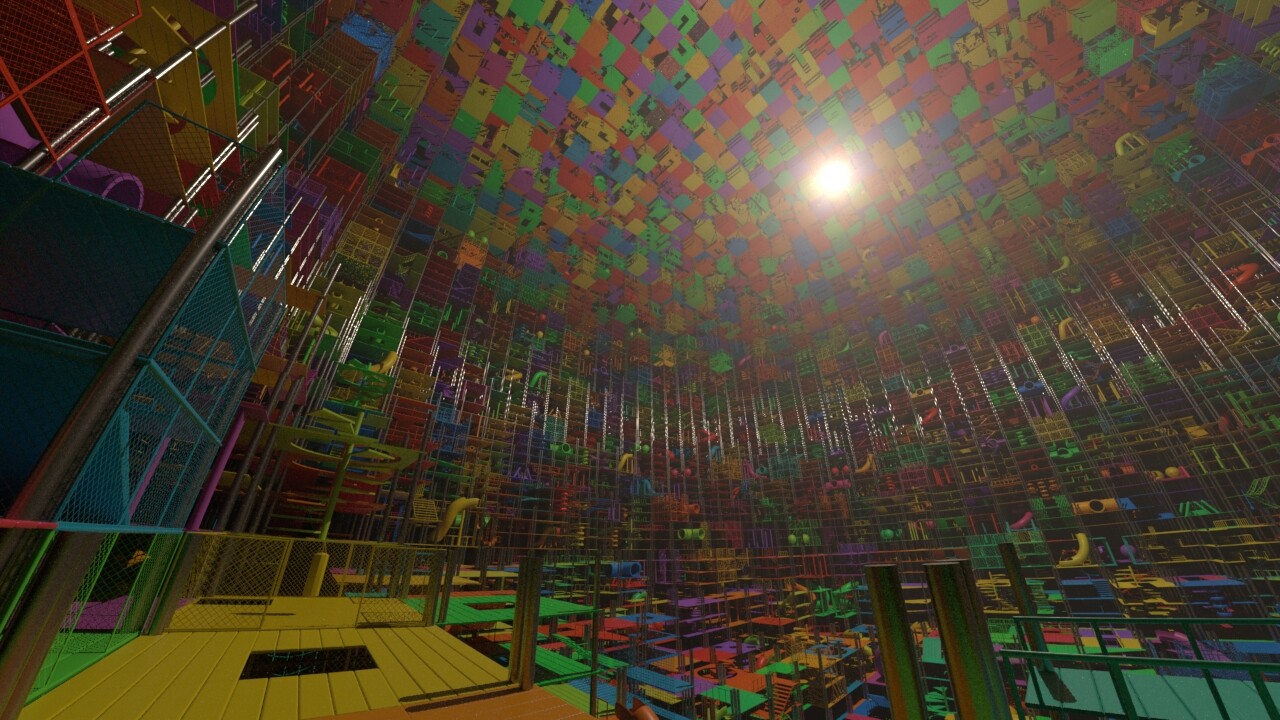
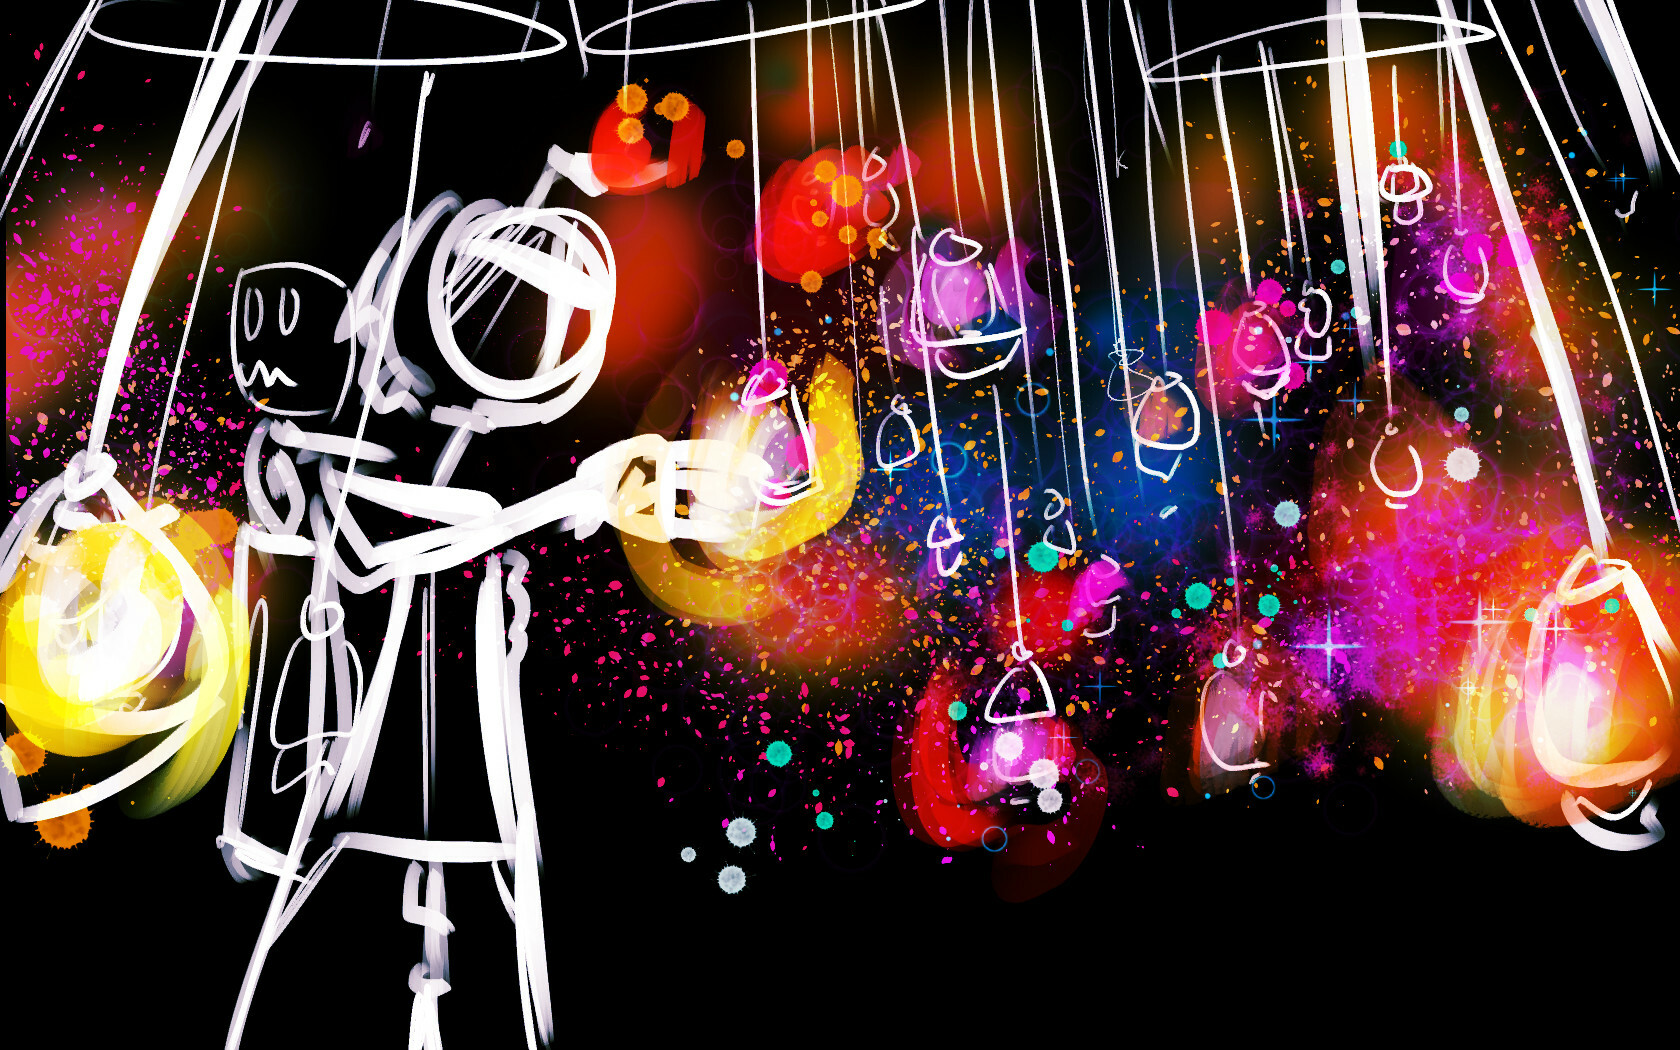
After thinking it through I decided to just go ahead with the new lamps scene just to see where it all starts. My initial draft (below) gave me a pretty good idea about where I wanted to go with the overall feeling and what my characters were going to be doing there. The plan was to hang a bajillion Turkish lamps in a vast empty space like one of those shops that sell these things... only that they extend into infinity.
As much as this was a nice thought there were a few interesting issues I was facing. You see, Turkish lamps are basically spherical lamps suspended by chains. This means that I had to consider / produce a texture that suits the appearance of Turkish lamps and somehow wrap around that spherical shape correctly. Turkish lamps are quite a challenge because they have patterns going on unlike a simple noise texture that can be procedurally generated using 3D noise patterns.
This is where a bunch of experiments began but ultimately I had one interesting solution which is the topic of today's Hyper Creative Time post.
Spherical Textures are a Nightmare
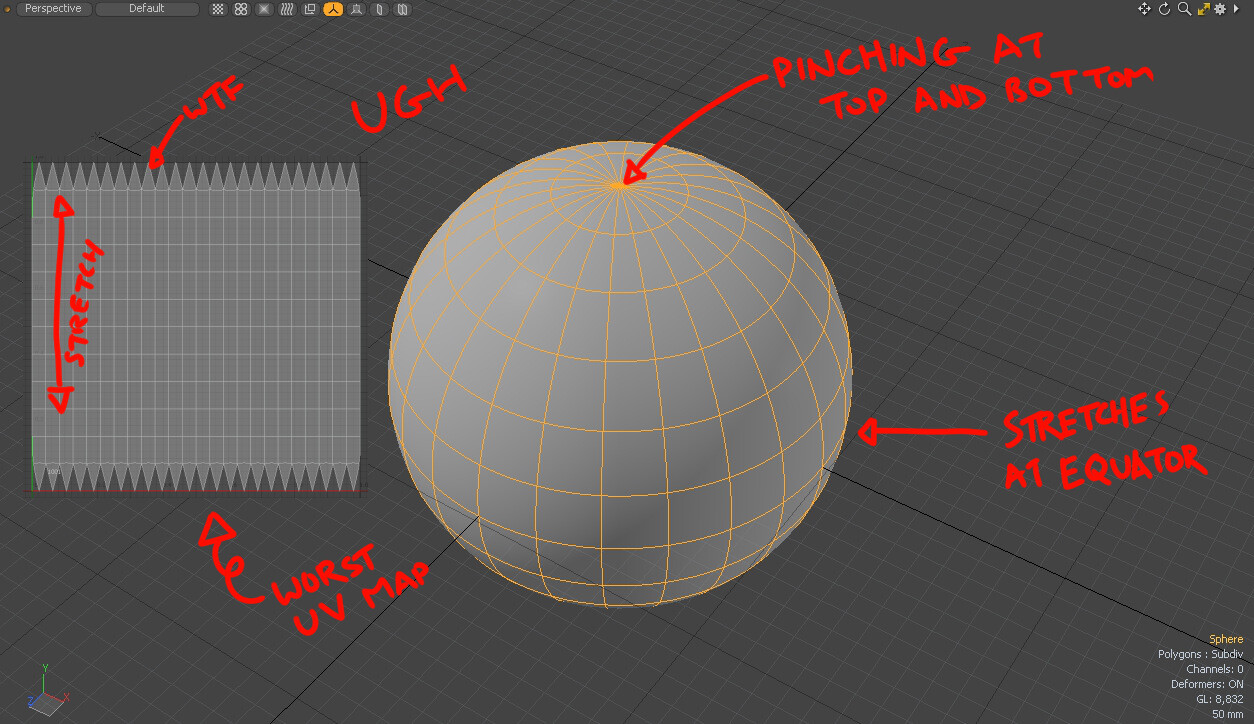
Spherical textures have a few annoying things going on. Well a few... as in a whole bunch. The typical sphere is the texture artist's nightmare. That nice curvy shape is a terrifying reminder that this world has no god. The darn thing has the most number of "gotchas". Firstly, the typical sphere pinches at the top and collapses into 1 point. Towards the equator it stretches out producing the lovely curve that's the nightmare of texturing.
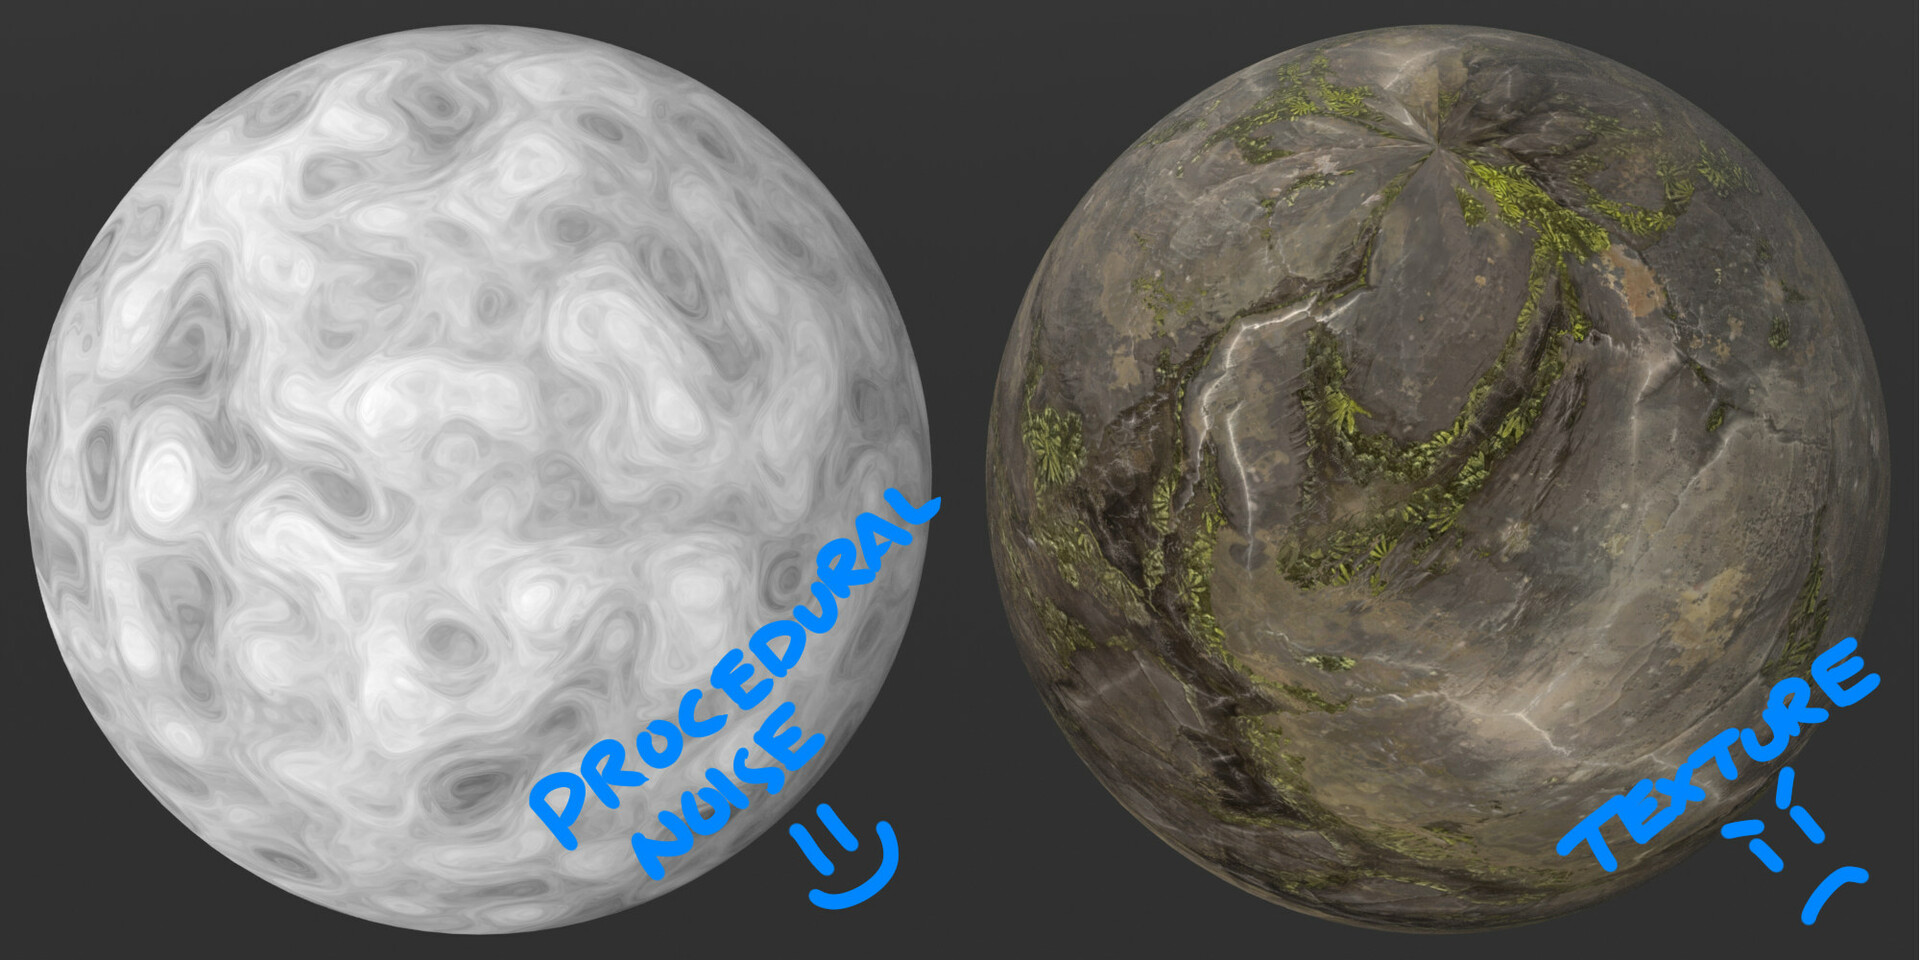
Again, if you use procedural textures you can get away with this problem. Yeah... because those textures exist in 3D space which makes them really easy to slap on and have them wrap around any surface with no hiccup. Then you get ... image textures. These 2D images somehow have to wrap around this lovely form. Low and behold yeah... it just gets squishy.
Disclaimer: In the end Turkish lamps have a cap on the top and bottom, these pinches aren't really visible but they're just an technical annoyance nonetheless. To me, I just wanted to solve this problem so I can show off with some unique spherical textures.
An Obscure Solution
I've been a long time fan of just looking for minor programs that do interesting pieces of art. One of them is called U&I Software - Artmatic. While their website / UI might be a bit corny you gotta give them a shot, the program is just out of this world. Artmatic began its life way back in the 90s and as a proud user I've been enjoying the insanity since I was a kid. This thing has effectively changed the way I think about computer art and design due to its incredible uniqueness and boldness.
Now I'm praising the crap out of it but just to give you an idea of what this program does... it does of course your regular texturing but it also lets you compose original fractals, lets you make complex animated motion graphics pieces, it even has some 3D capabilities. It's basically a graphics synthesizer with a bunch of math things going on.
Keep in mind Artmatic is currently a Mac product. There are some rumors about Windows versions looming but who knows... when it'll be out.
This is some original fractal thing I made using this program by using memory buffers to iterate this entire node tree.
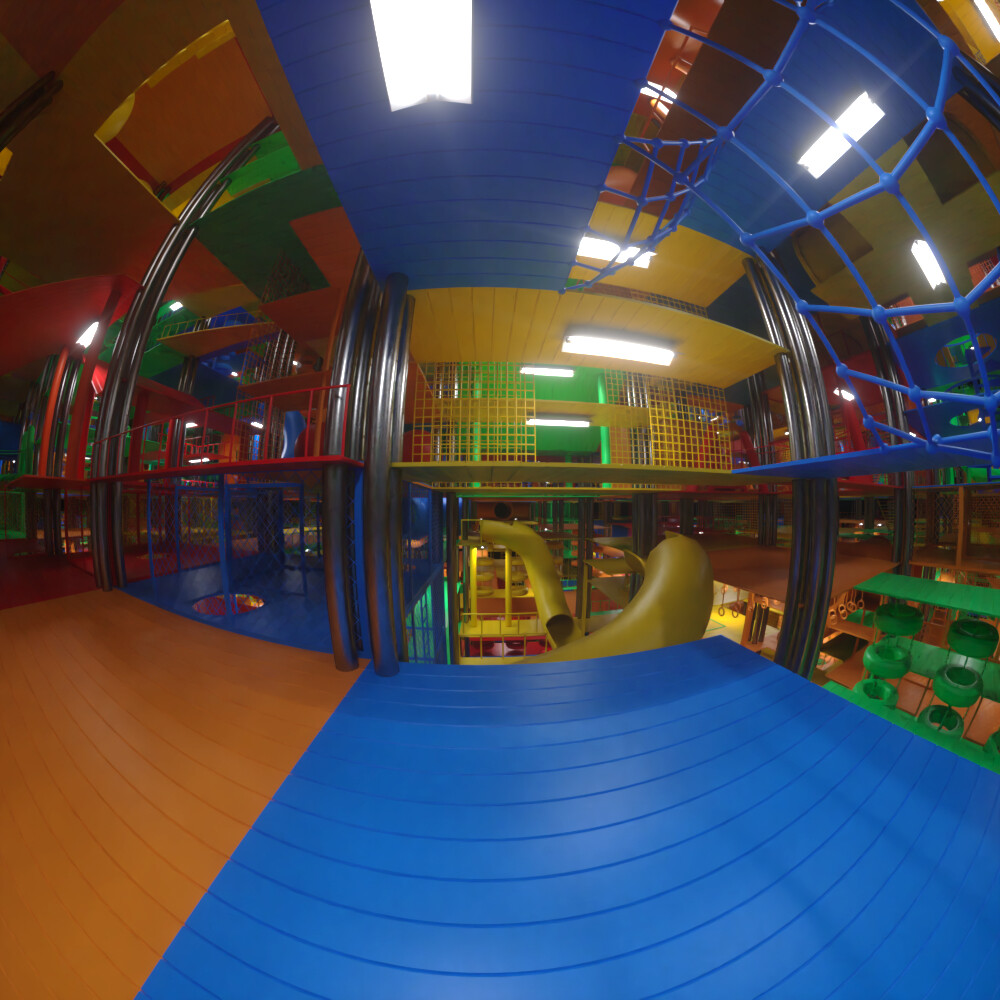
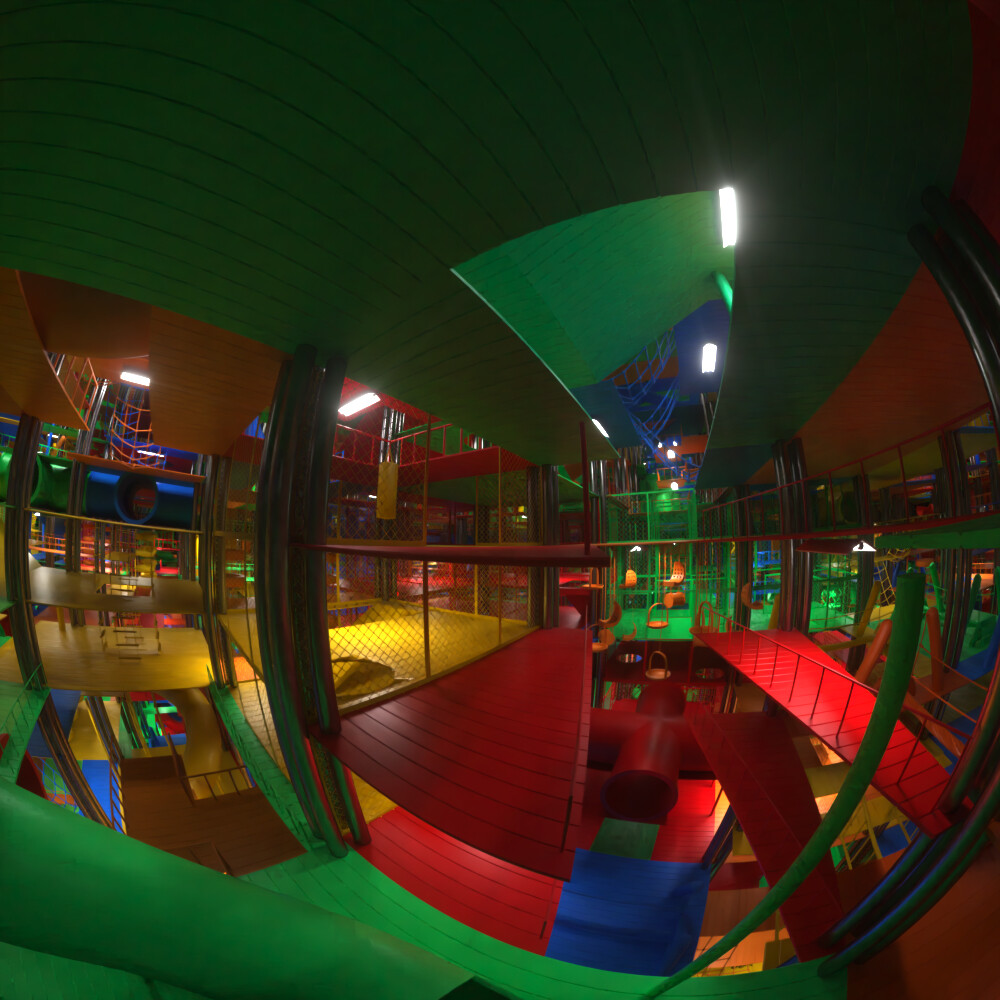
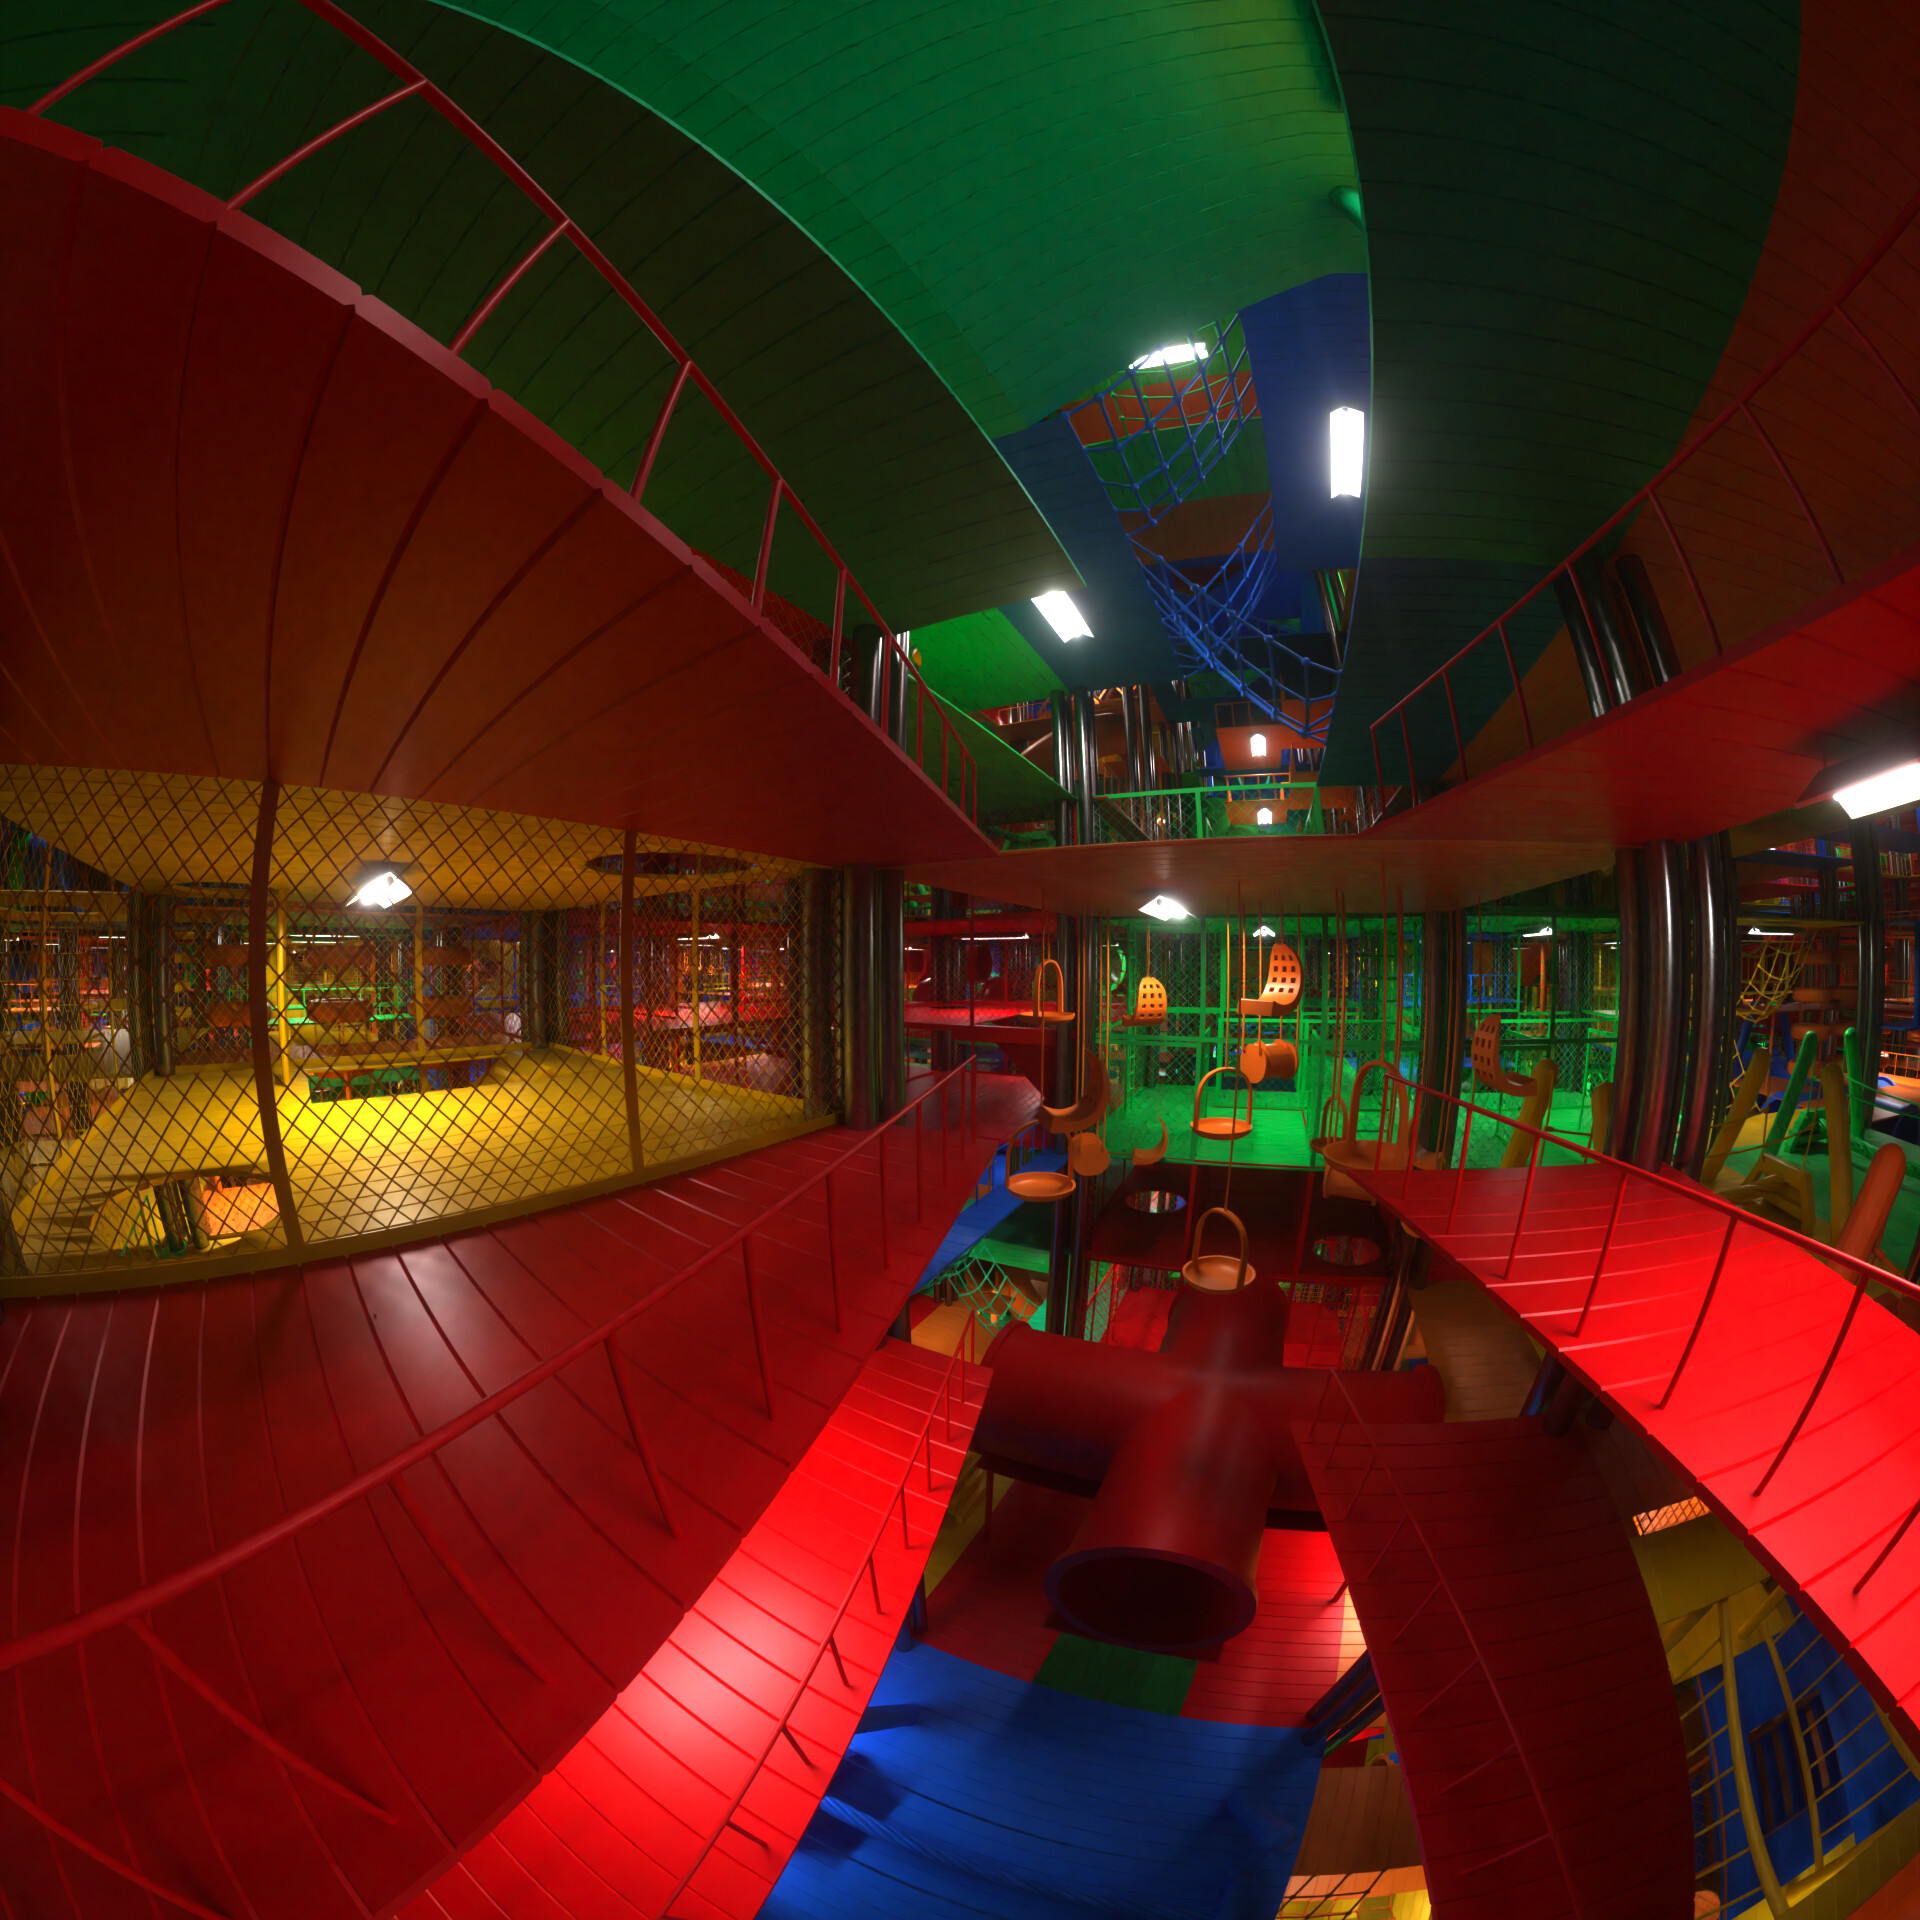
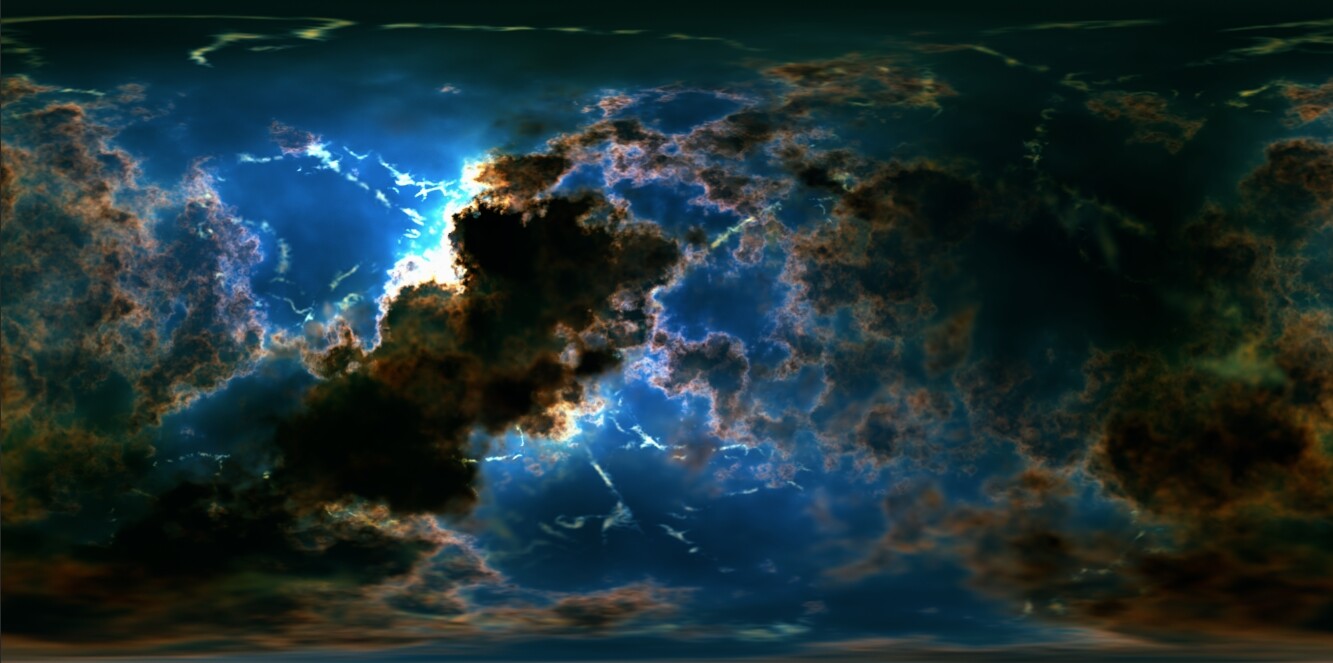
So yes... Artmatic does some weird, fun, hyper odd things... but what does this have to do with spherical textures? Well, Artmatic has a particular skill when it comes to warping and distorting space. As an example image Photoshop's distortion filters. They warp images by shifting pixels around. This is basically what's sort of happening, only there's a lot more complicated math behind it. And not only that you can produce some really specific distortions. In this case, the solution to producing perfectly spherical textures is to use an equirectangular projection.
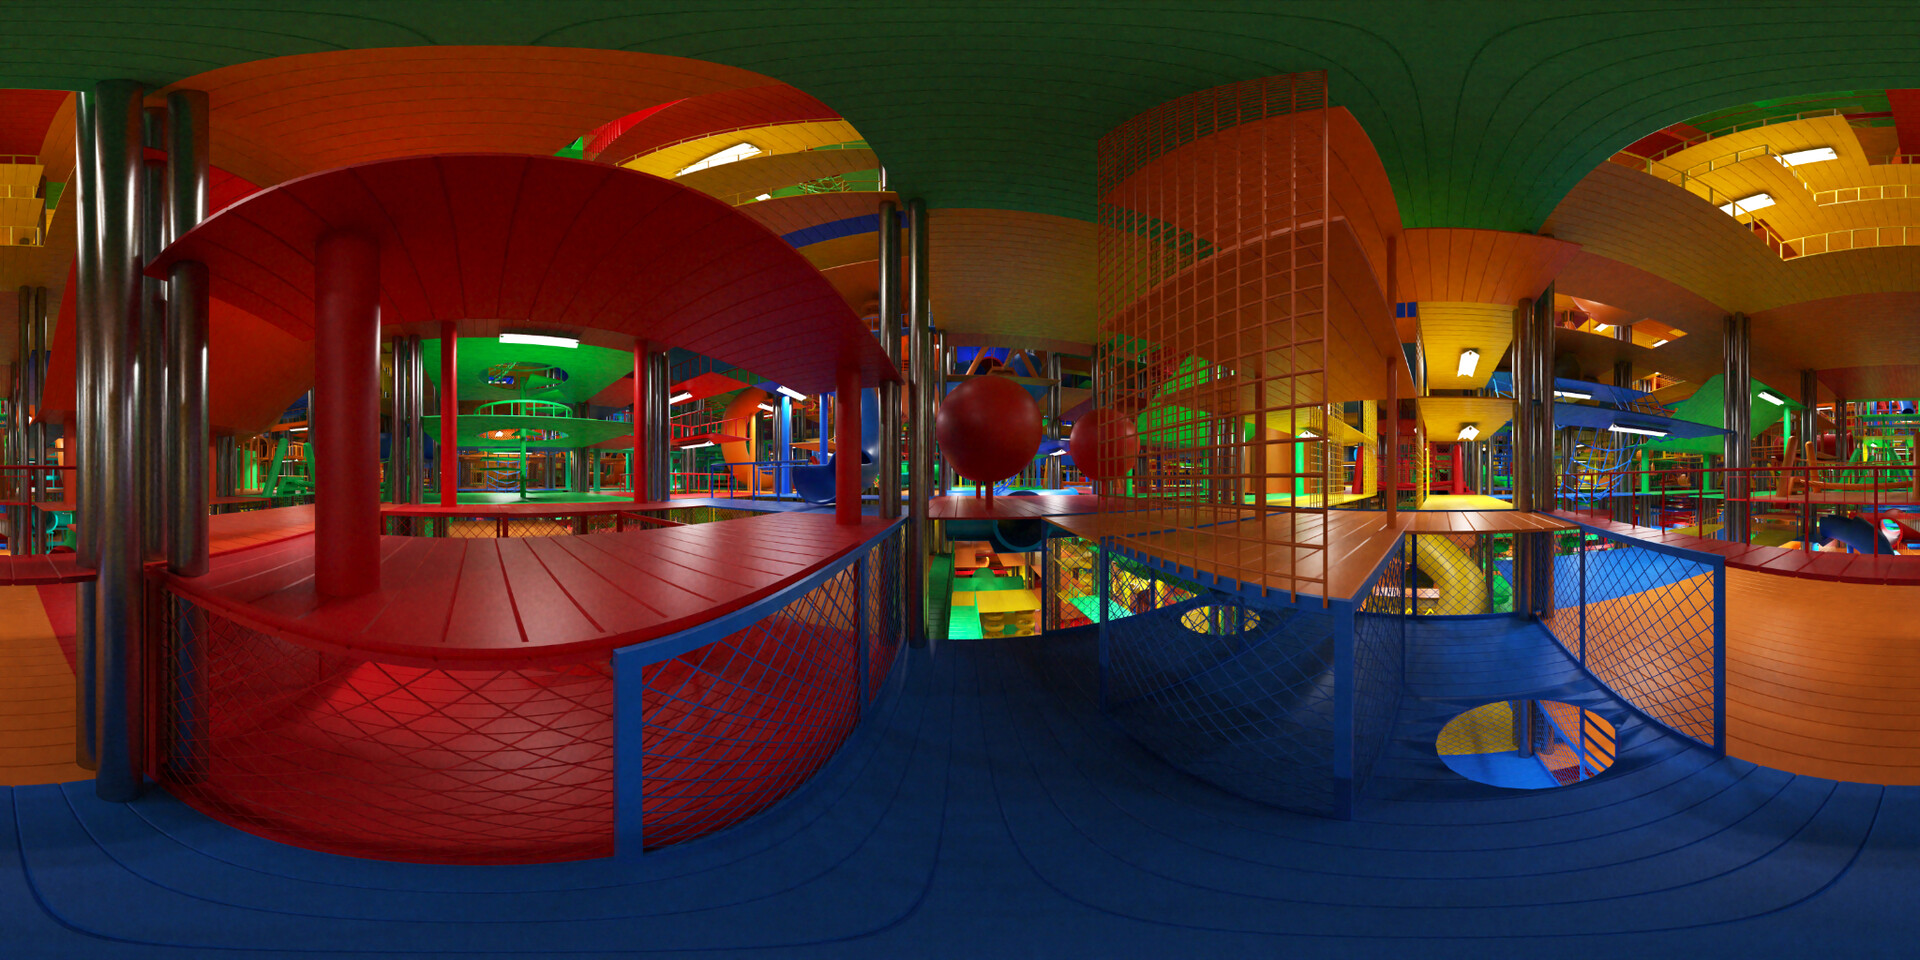
A Side Note - Equirectangular Projections
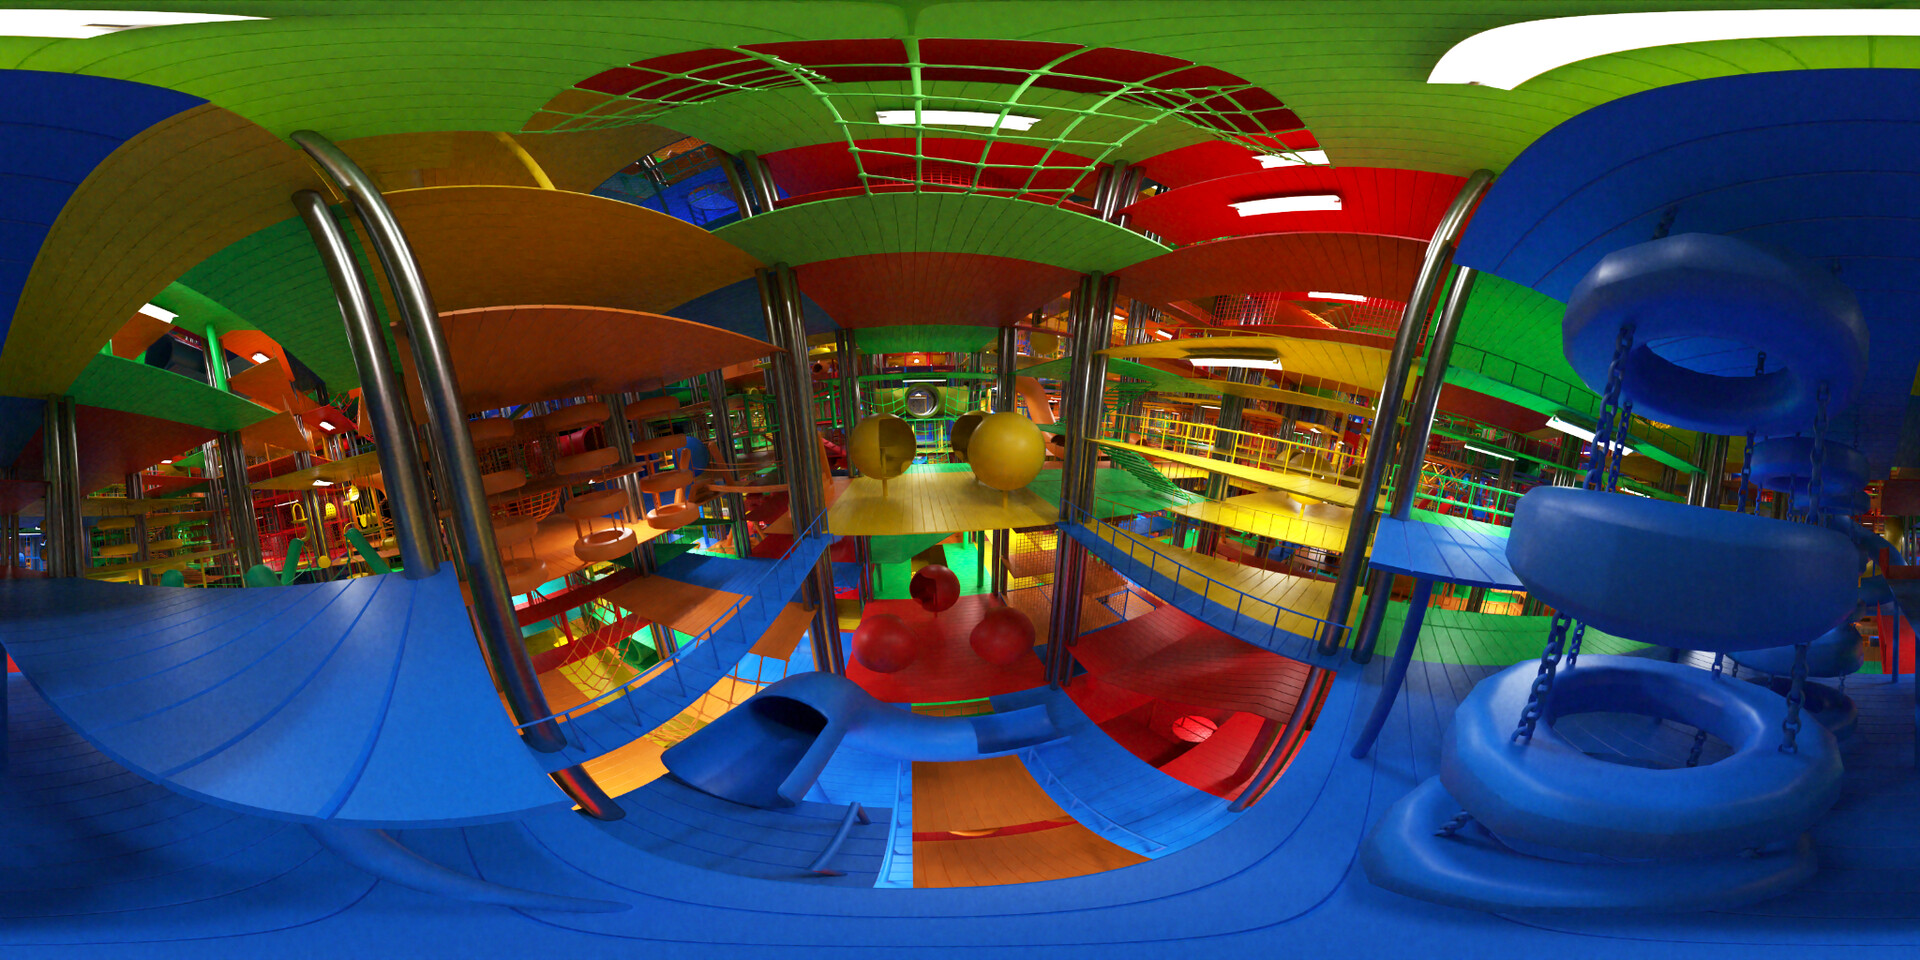
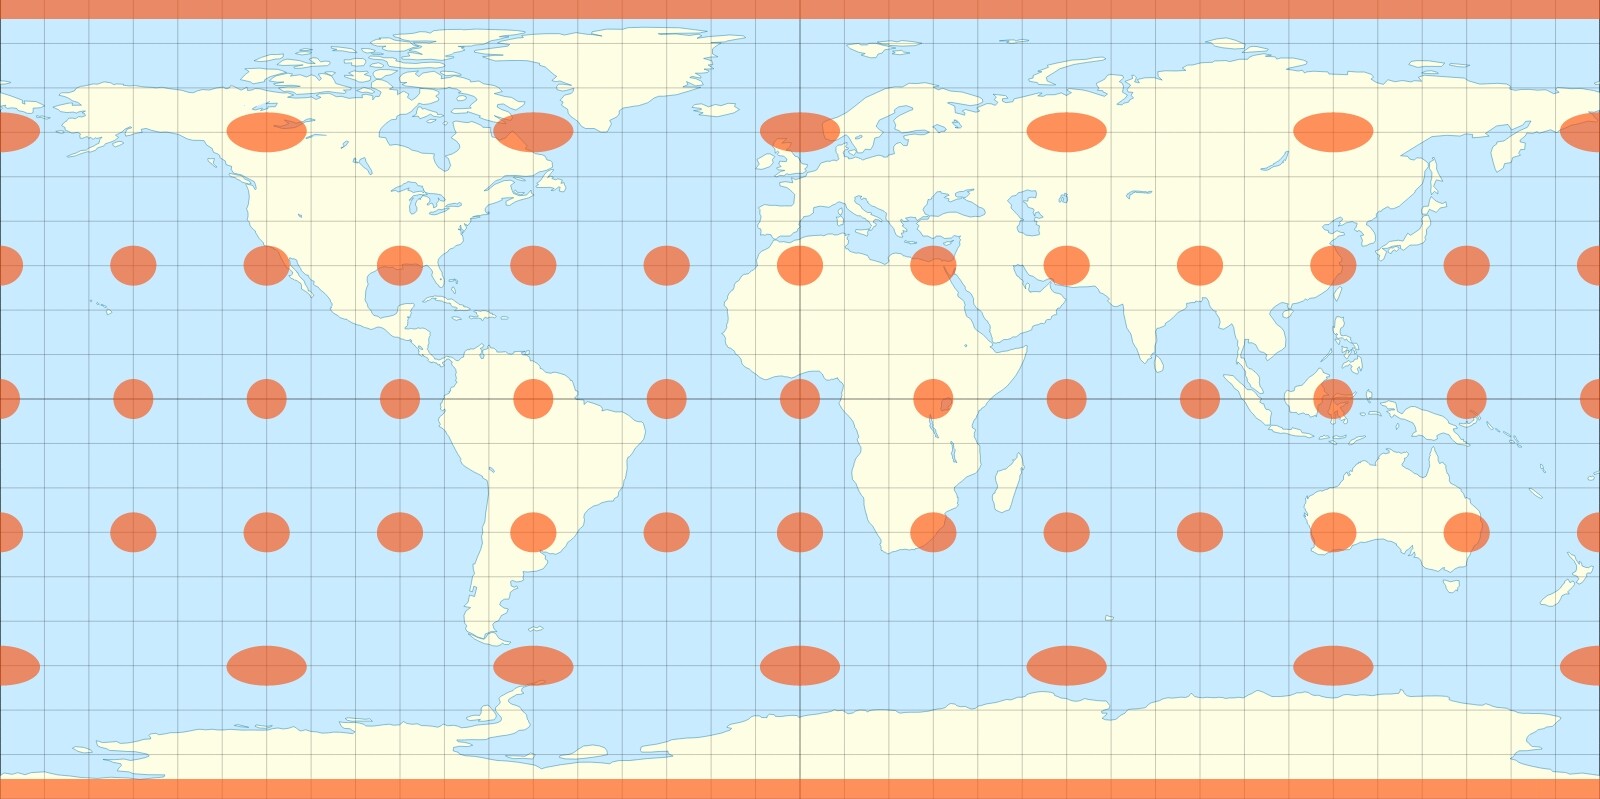
If you haven't made HDRIs, panoramas, VR videos... or maybe planetarium shows the word "equirectangular" is probably alien to you. This is basically a type of projection that you see that attempts to represent a spherical object as a 2D plane. World maps use this projection (most times), you see this being used for HDRIs, 360 videos and so on. Equirectangular projections have a particular stretch to it that allows it to correctly wrap around a spherical shape, albeit when you see this in 2D... it's really messed up due to the distortions. (Image credits below: Justin Kunimune / Wikipedia)
A few pros and cons of working in this particular distortion:
Pros
- Generally easy to work with. You can throw this in any 3D program and it'll wrap around stuff correctly.
- It's used everywhere.
- It's less of a hassle to work with than other projections.
- There's no wasted space as with other projections
Cons
- Extreme distortions around the poles (unavoidable consequence)
- Distortions at poles can lead to lower quality in those areas if you don't have sufficient resolution. (Export images at a large resolution)
- It's really specific in terms of usage so reusing the texture is kinda difficult.
Artmatic Saves the Day
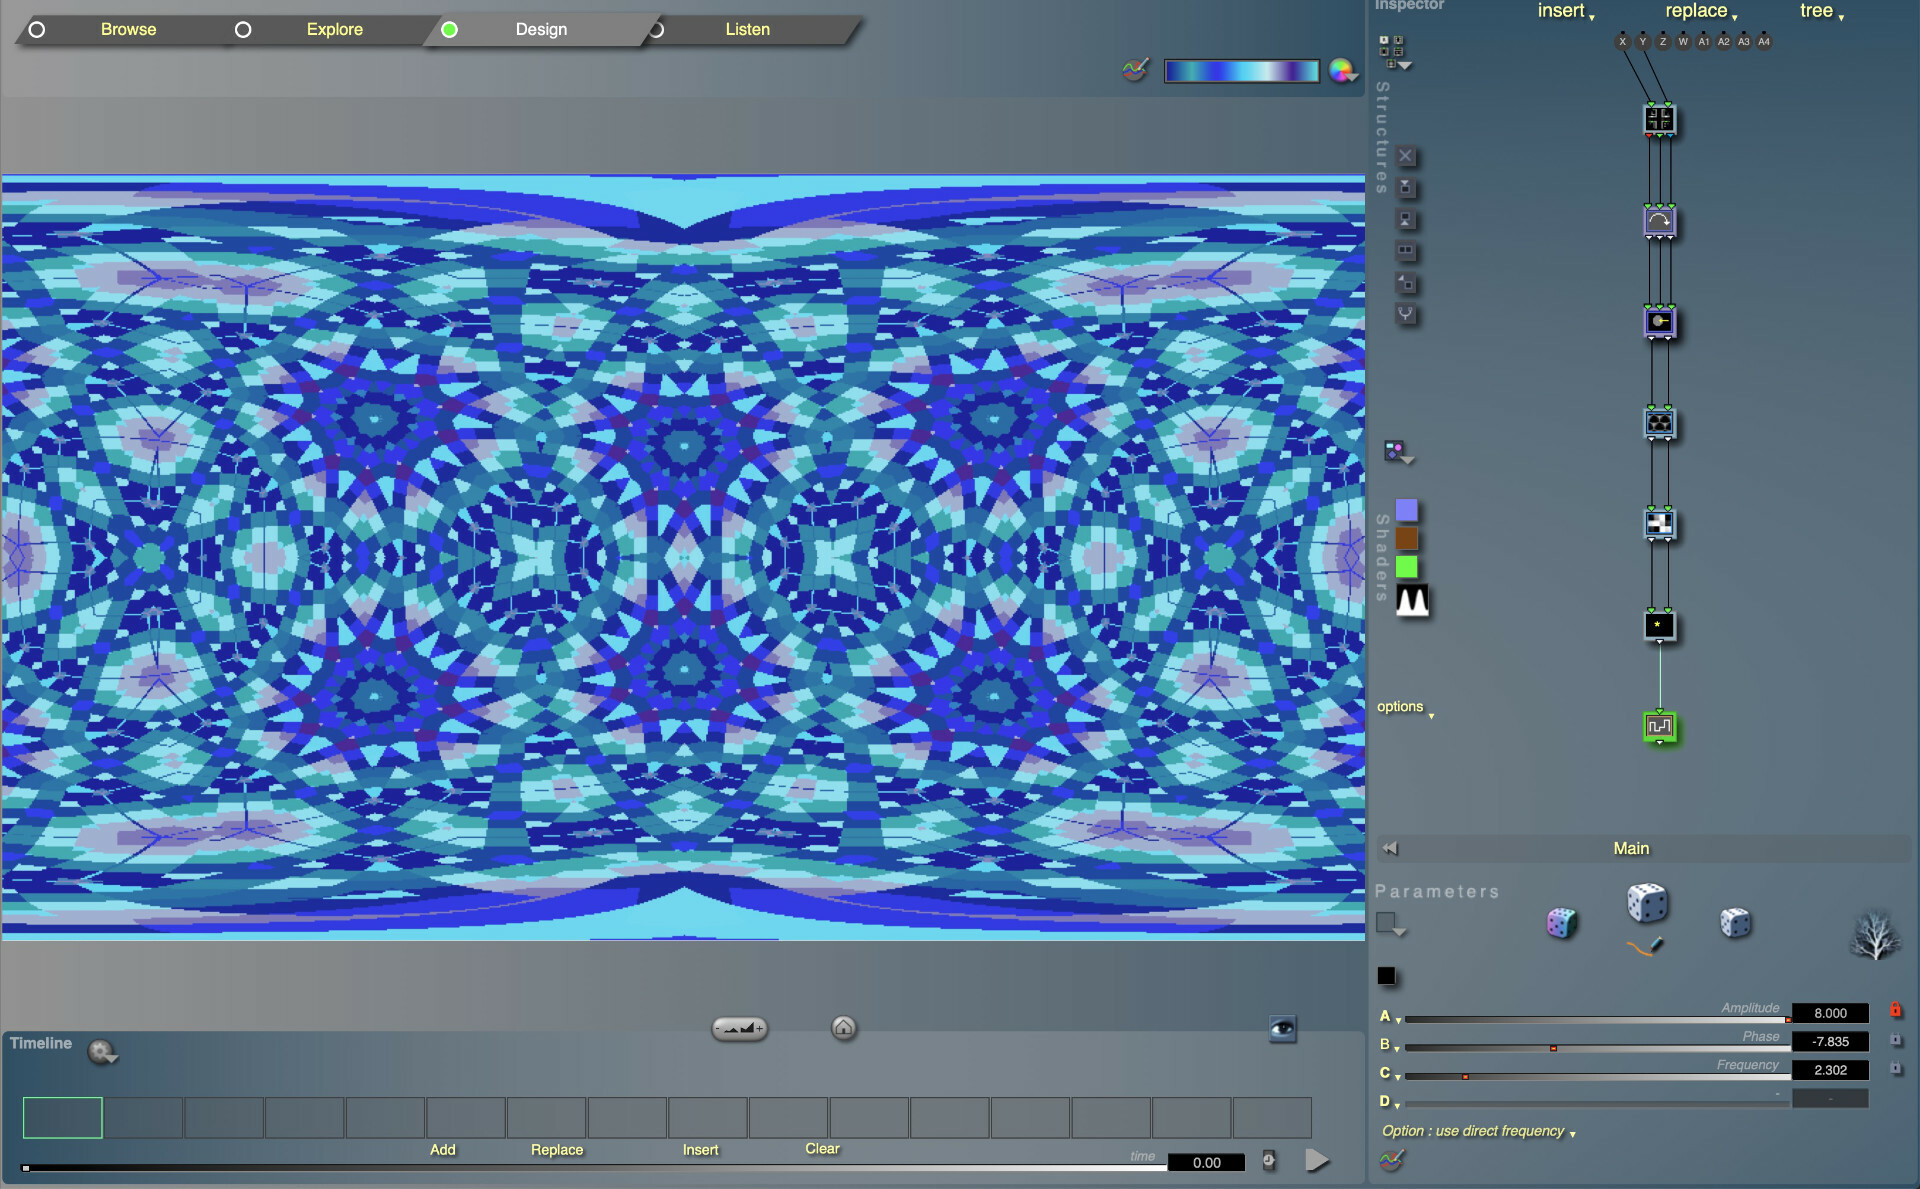
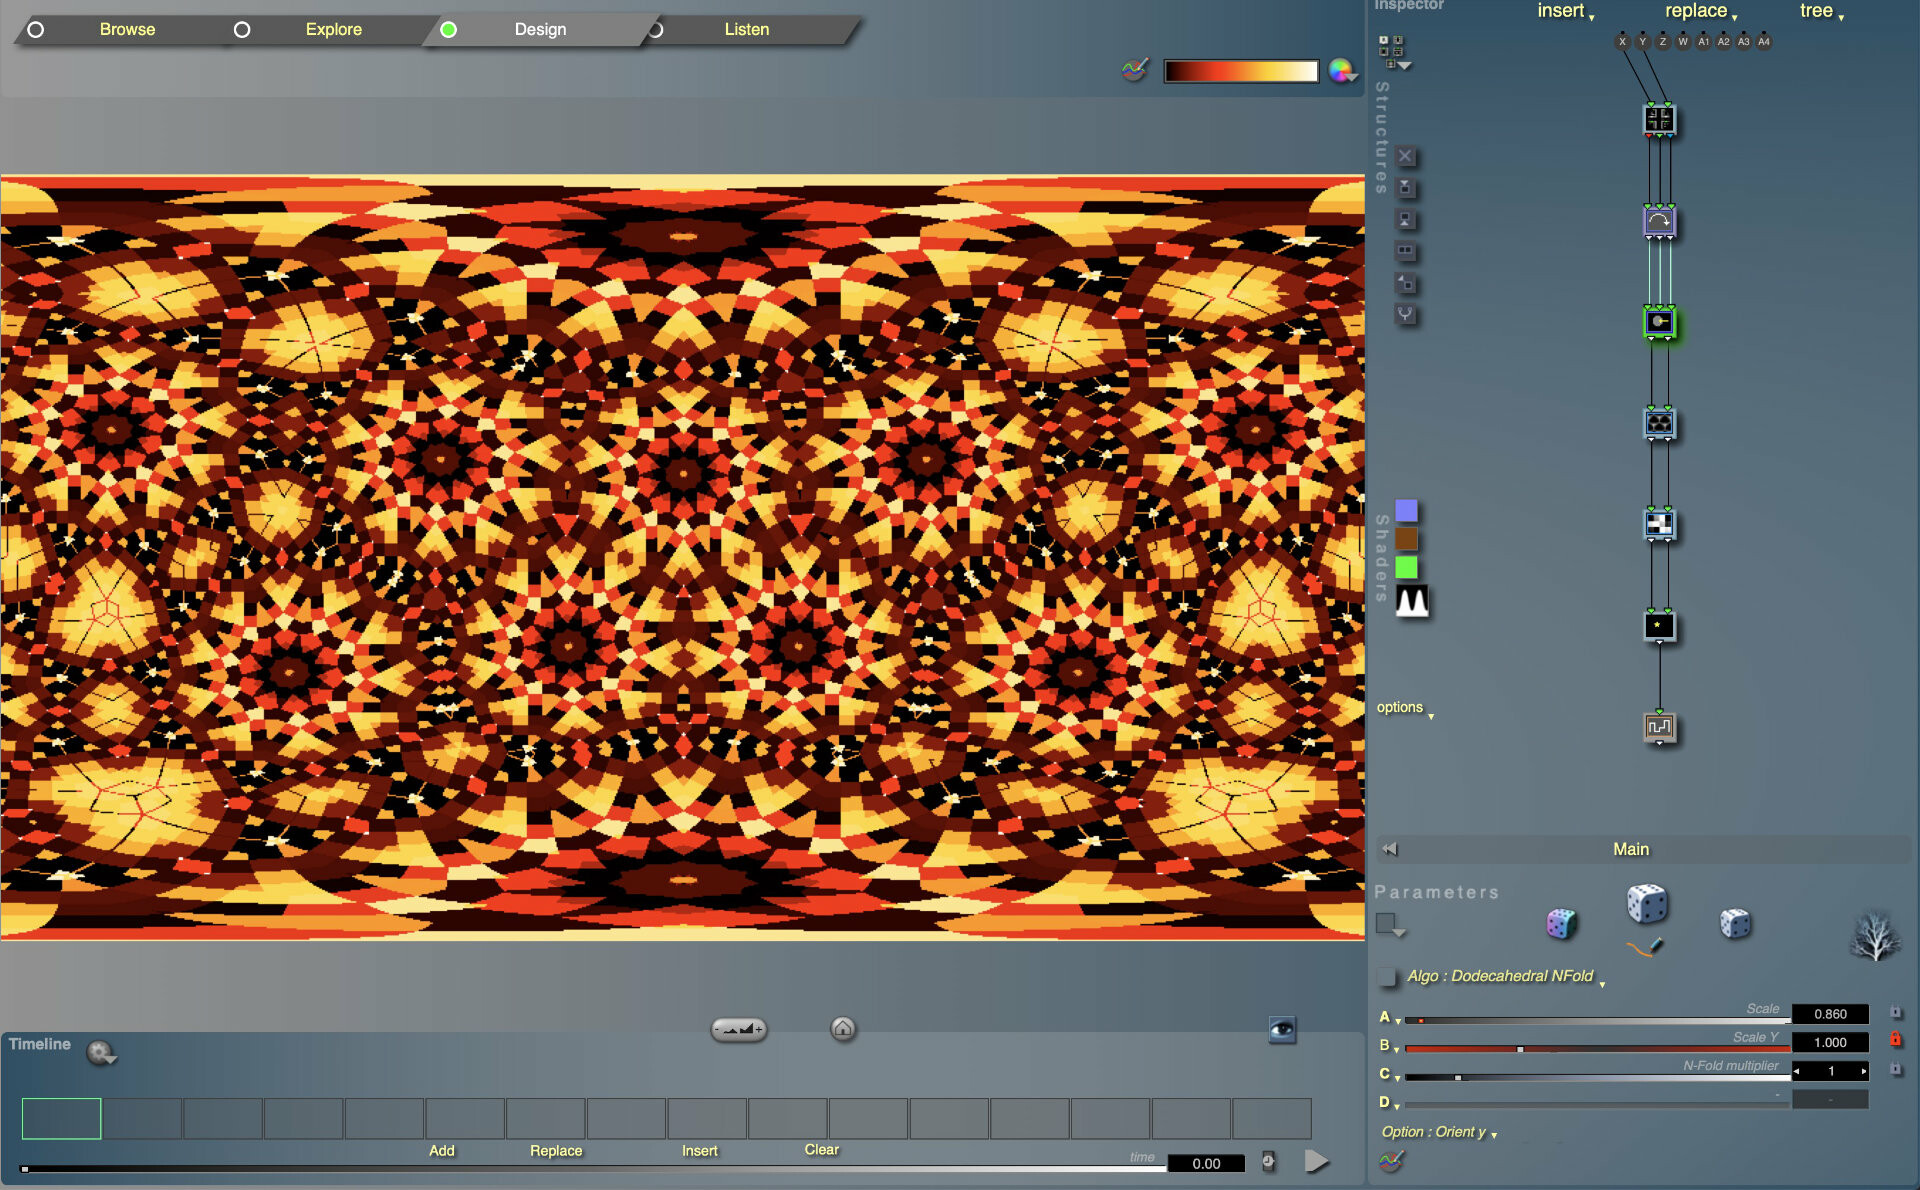
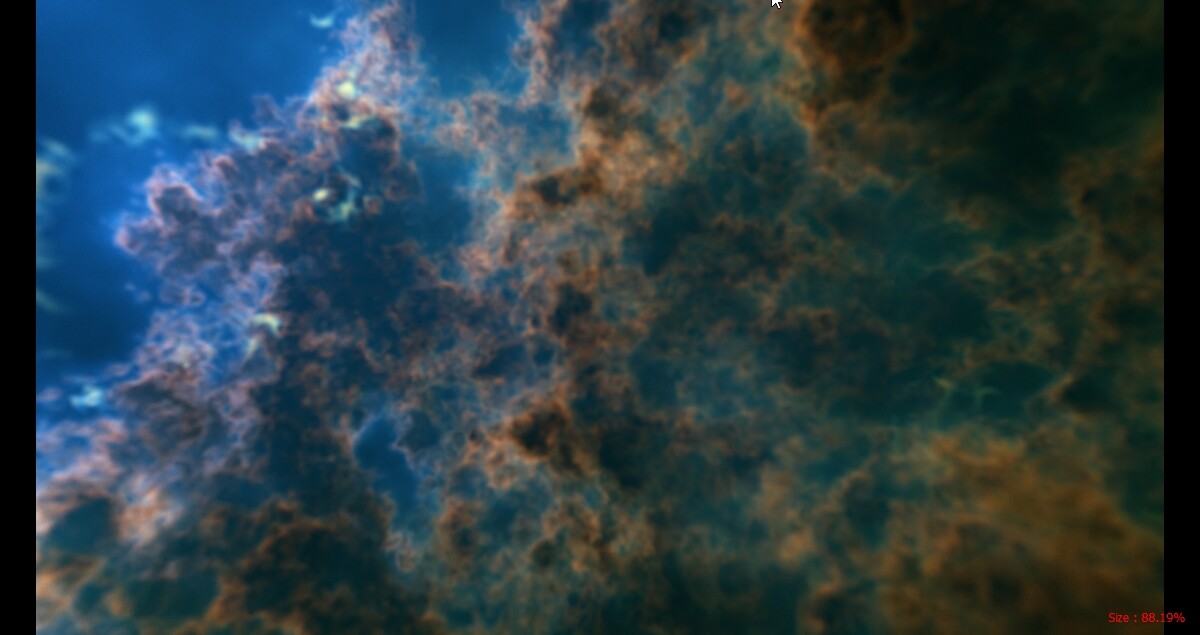
Returning to Artmatic you can basically make a node that wraps stuff in an equirectangular projection. Along with a few other speciality nodes, Artmatic really completes the puzzle. In the screenshot below, I have what's called a compound node that produces that equirectangular space for the nodes below to be distorted in, this node sits at the top distorting everything below it. The other nodes wrap other elements into patterns producing the desired effect. At this point I'm really just exporting out the mosaic layout from Artmatic. That stained glass look comes later.
While showing you these screenshots won't give you too much information, part because I don't see that many Artmatic users around, I think it gives you an idea that there are programs out there that can solve these issues in a unique way.
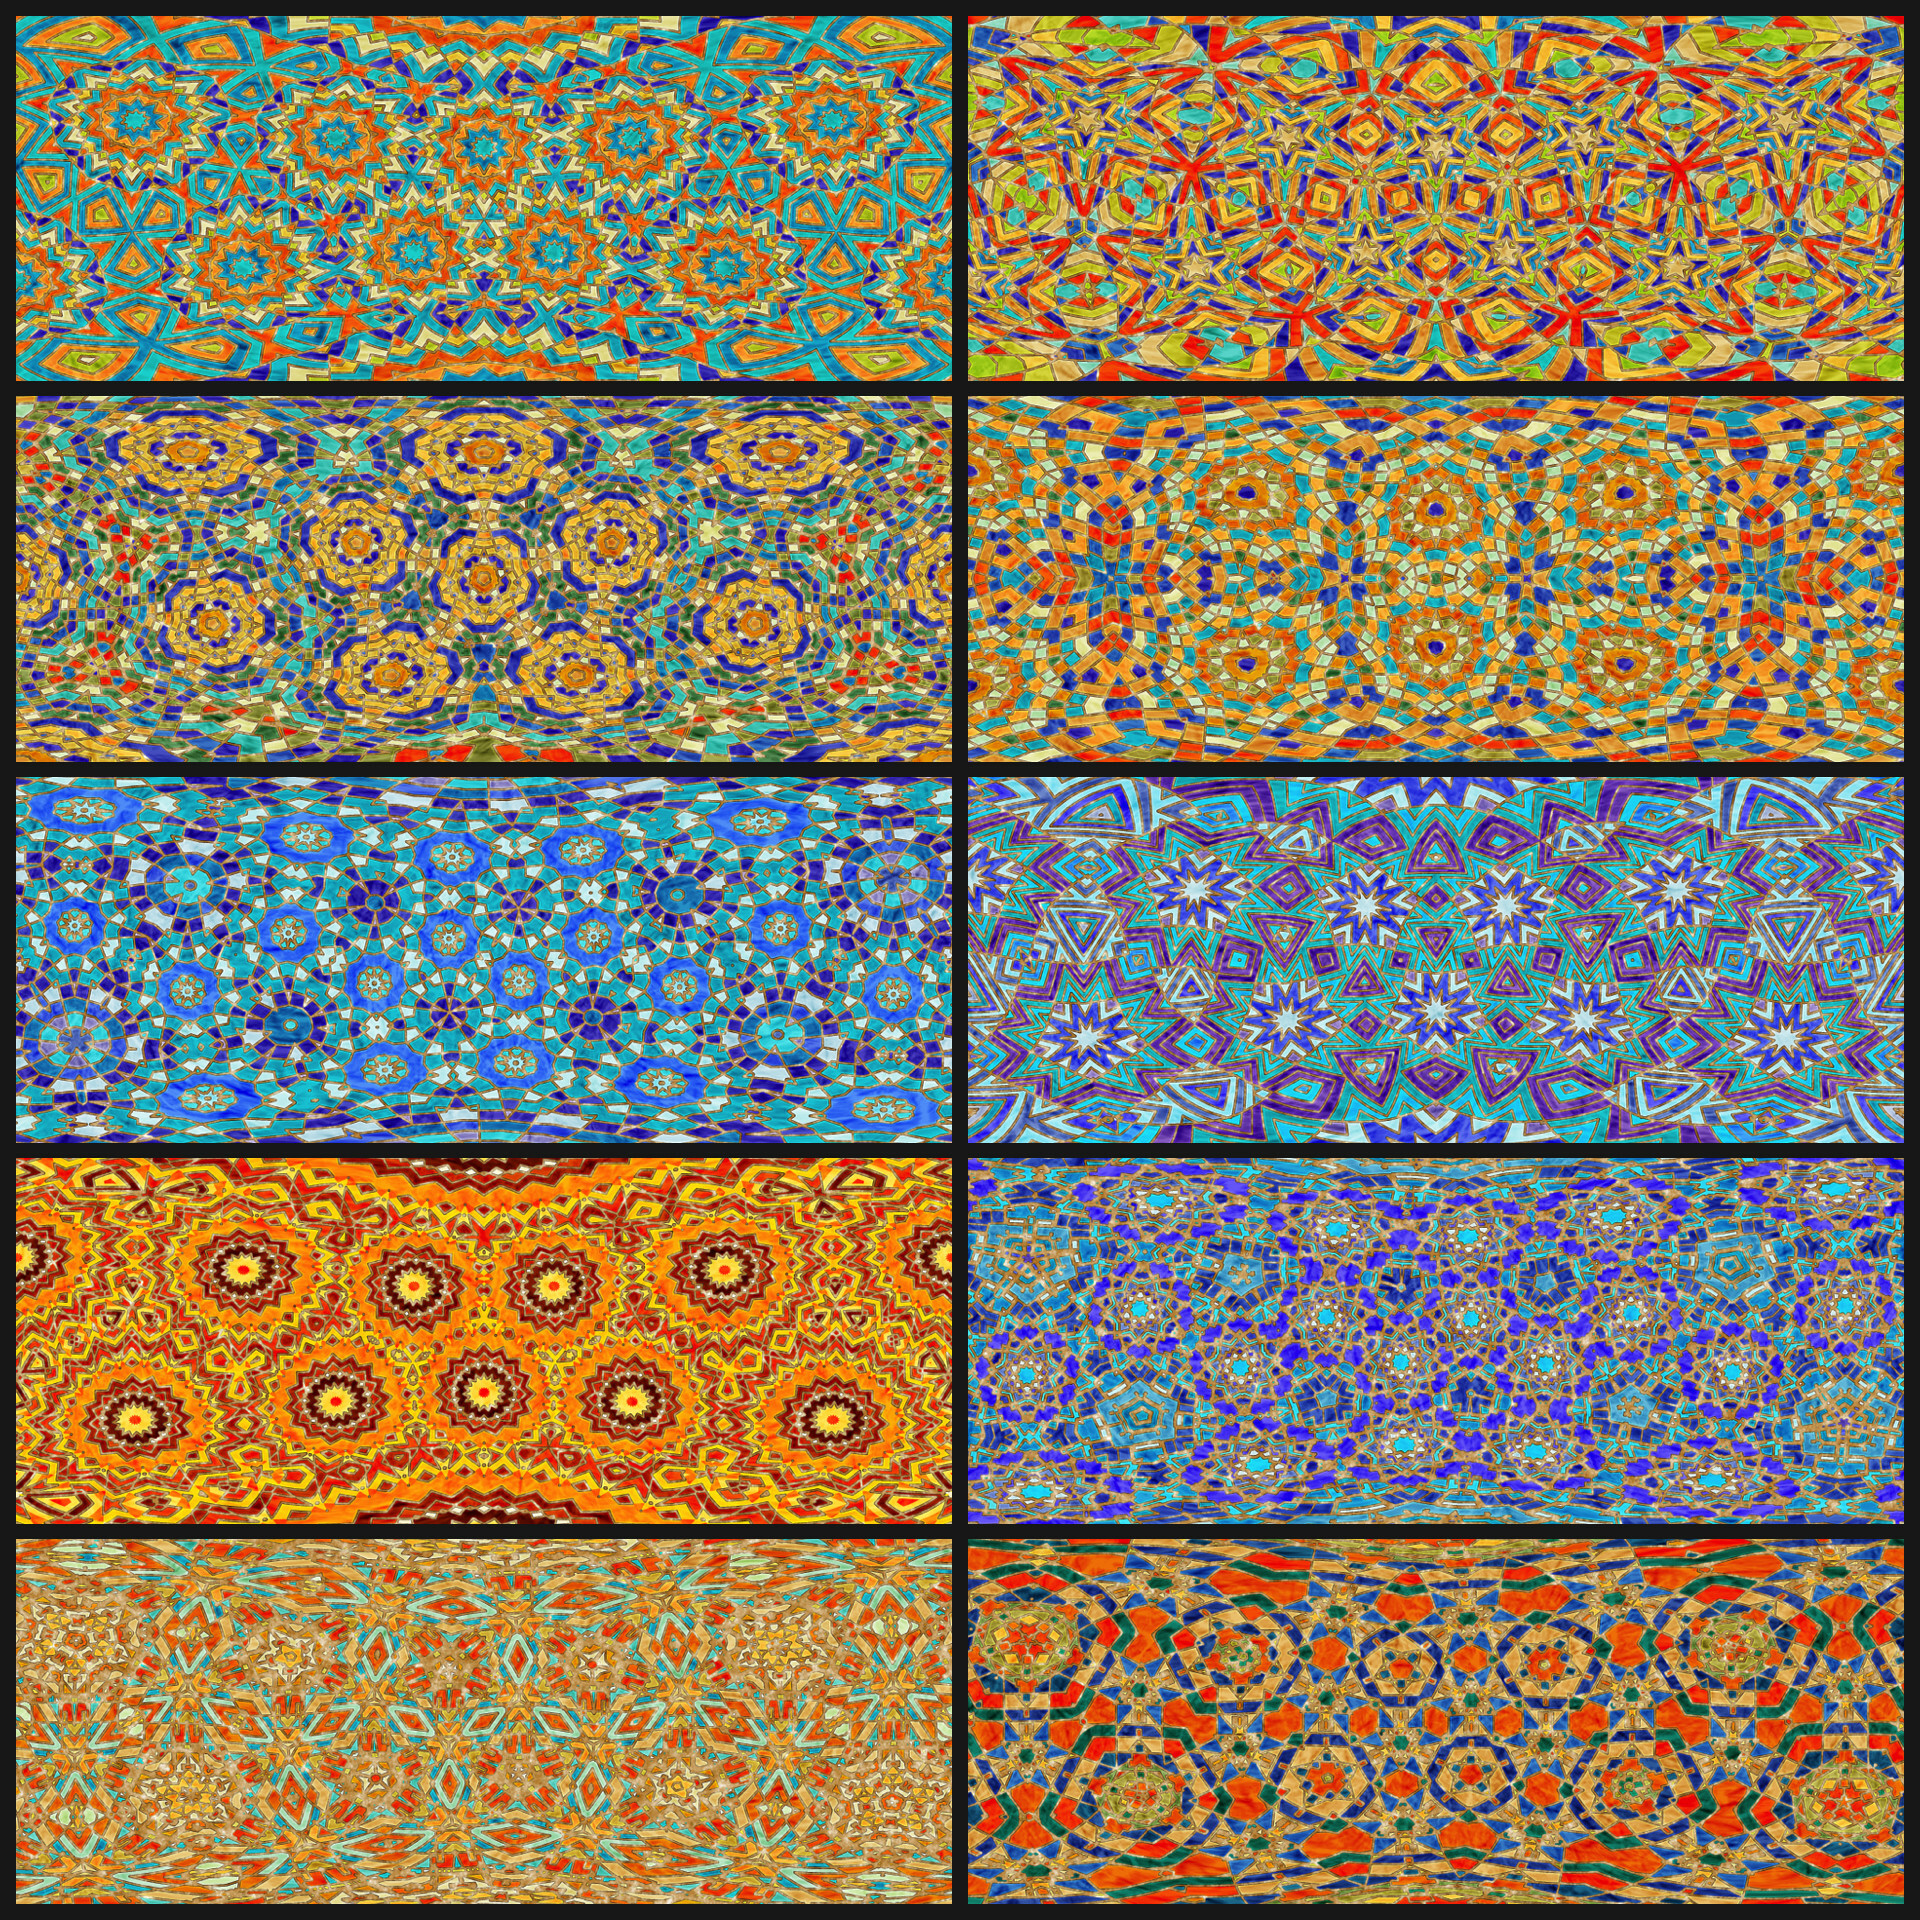
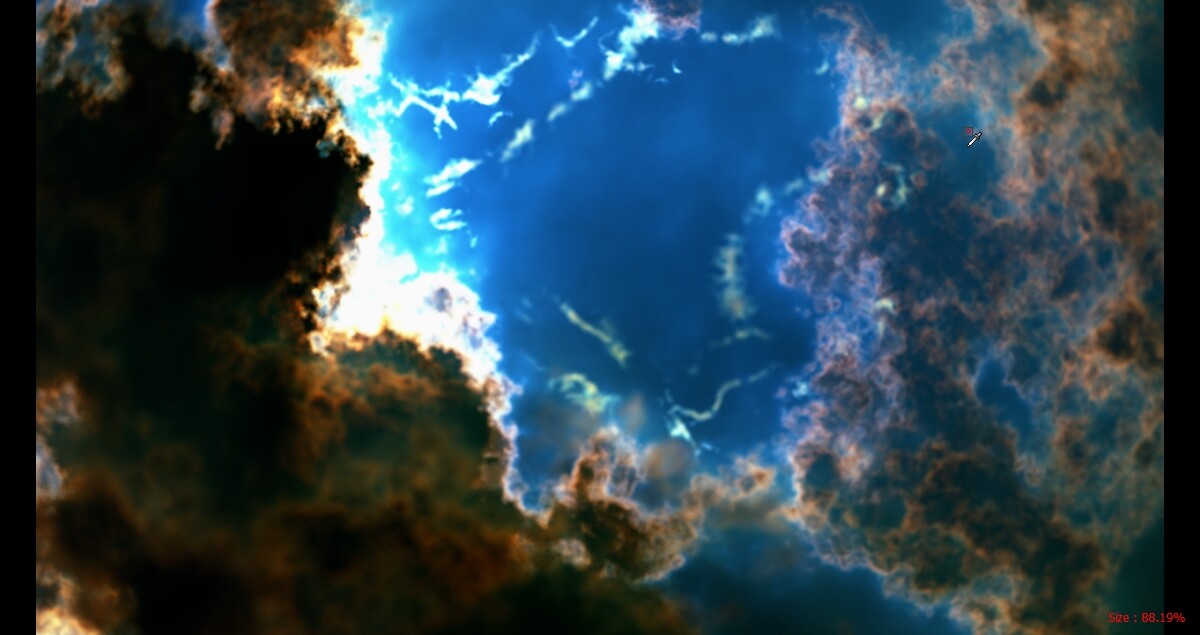
Now it's just a matter of taking this texture and doing some additional fancy on it.
For this I used Substance Designer that takes in these mosaic base images and just throws a nice golden, metal edge around it as well as adding some random noise patterns to produce the stained glass look and feel.
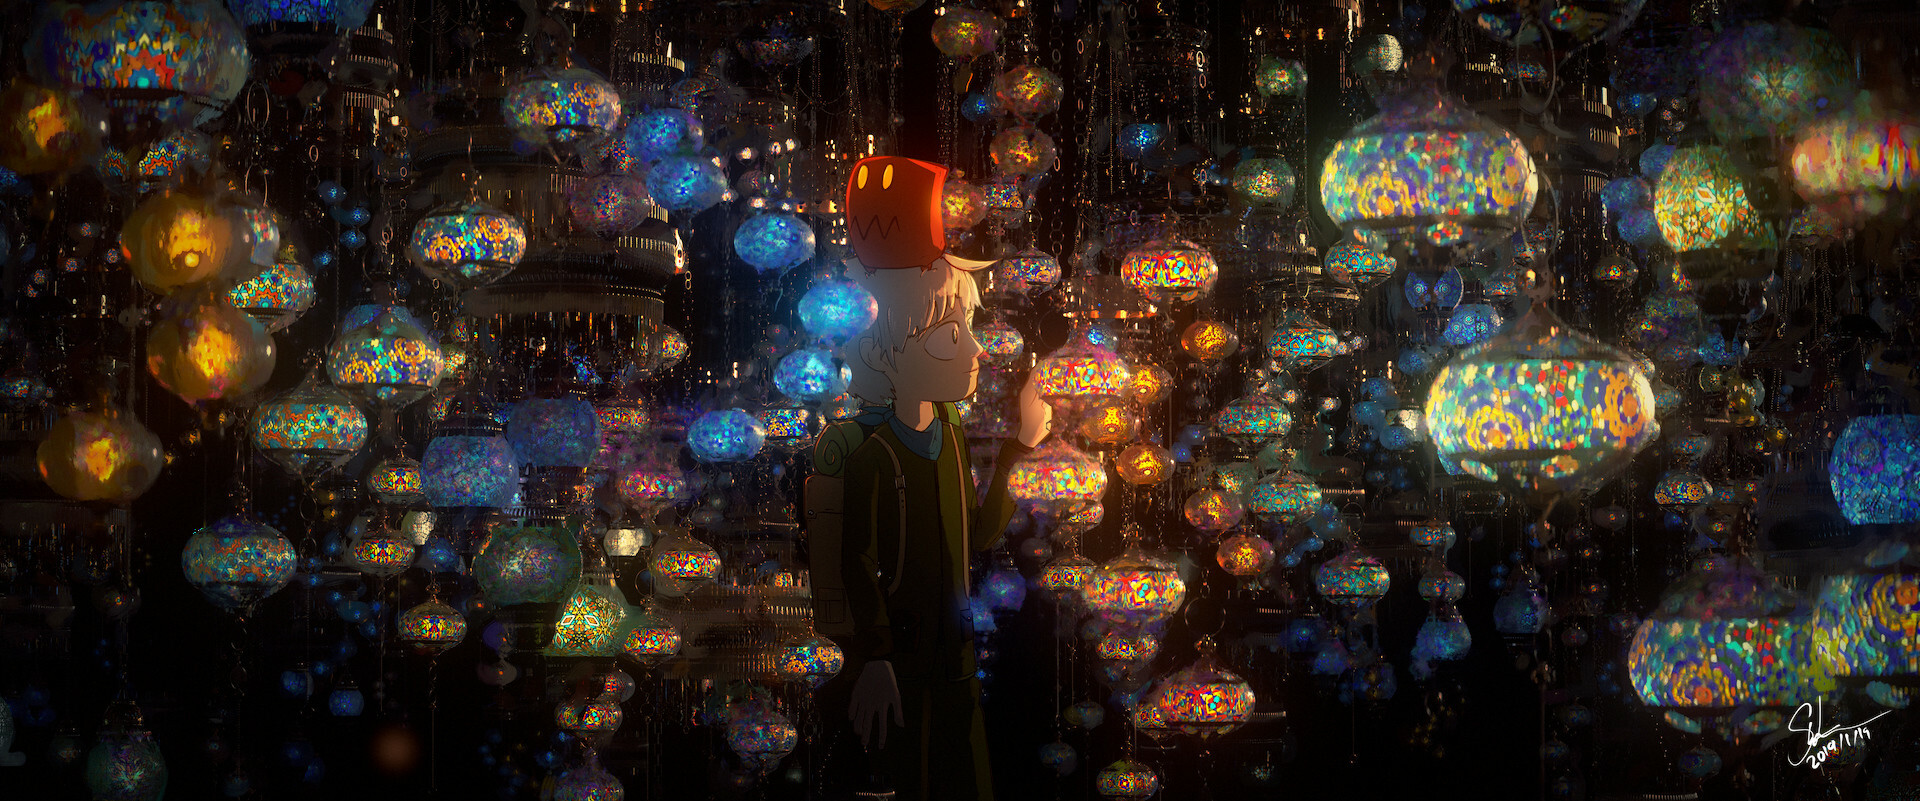
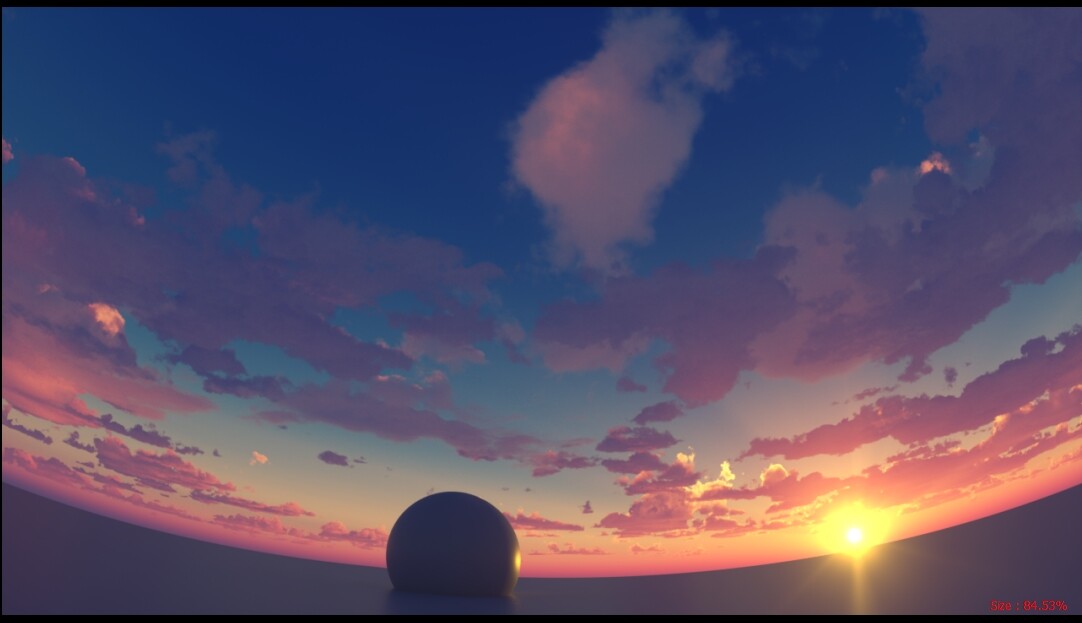
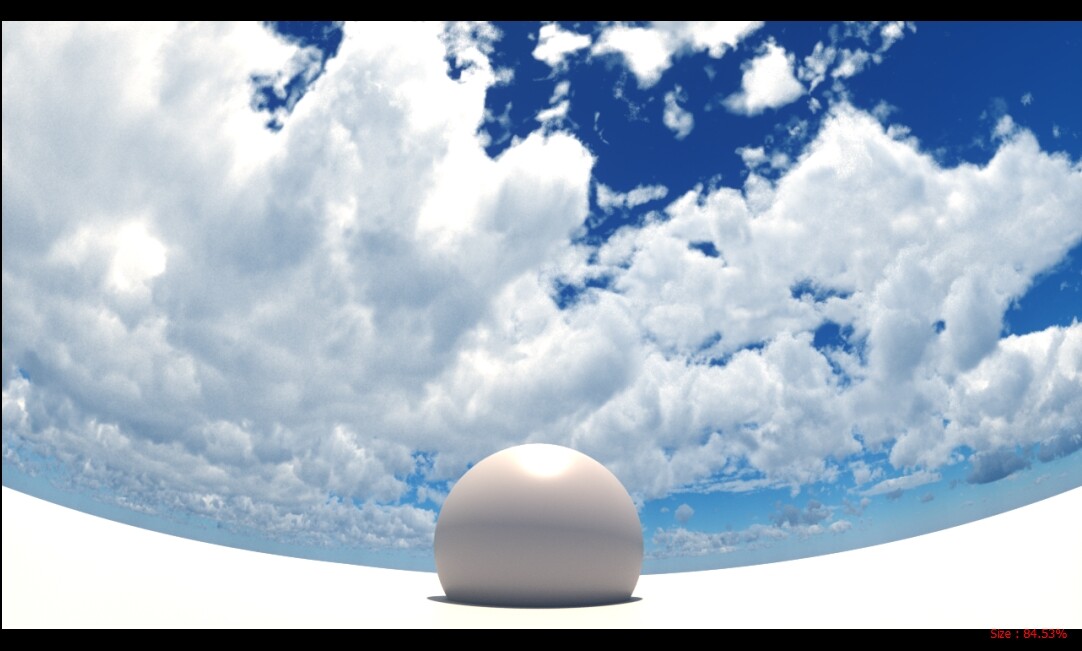
The results are fantastic. The stretching problem common to many of these kinds of textures isn't present. Artmatic solves the annoyance of producing these by hand, and I personally think they look great. In the image below, I stuck a simple emitter inside the spheres shaded with transparency. The details produced in Substance Designer really pop through.
Overall this image was quite interesting. It's not the sort of challenge you get from just building scenes, it was more from texturing and making sure these looked great. Credits go to Andrej Dzajkovski, Kevin Weber, and Alex Calandri who produced the models for these lamps.
The Thoughts that Linger
So texturing a sphere is kinda tricky, particularly patterns like the ones you see above. Keep in mind that there are many solutions out there to this so my solution here is just one idea that worked. These curved surfaces are kinda special in that they present these problems and they end up requiring unique solutions sometimes. Some of you might be asking "well how do I do this in Substance Designer?" and the answer I have is... I really don't know. I guess I can try it at some point and it'd perhaps be my next post.
As an artist these technical challenges are somewhat of an everyday thing. I generally don't think many people run into this kind of thing but I hope this inspires you to really take things outside your comfort zone of programs you use regularly for programs you might have never thought of using.
People tend to get too conservative about what things they use. There are fantastic programs developed by smaller teams packed with tech that really gets glossed over. They can be due to the fact that they're only known through word-of-mouth, lack of advertisement, no-interest, or a website that doesn't explain well what the program's true capabilities are. But you sometimes have to look past all that to really see what the thing's all about. Sometimes those programs have unique features or solutions that can be helpful at times in need. Knowing them really makes a difference, particularly when you're just a single guy in a tiny room with no resources to bounce ideas off of technically minded artists with a strong background in programming.
I hope you enjoyed this really long post about texturing spheres using an ultra specific program. I'll return with something in the next post of Hyper Creative Time.